Destinations Groups
Description
In order to make use of destinations and managing prices easier, destinations are grouped. It means that one price applies for a group of destinations, rather than for destinations separately (a group can contain one destination also).
Who can configure and use destinations?
- Destinations Groups are only used by users. It does not affect providers, because providers need to have very exact rates for each destination.
Configuration
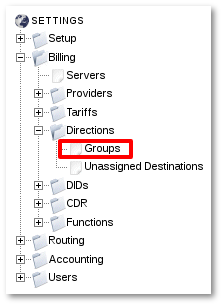
Go to SETTINGS –> Billing –> Directions –> Groups:
Here you can see the list of already created Destinations Groups.
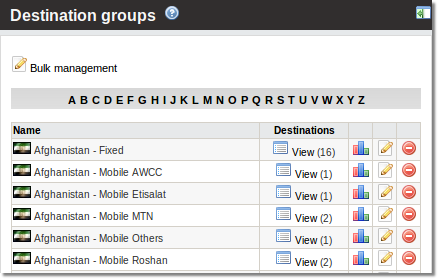
You can add new destination by clicking ![]() New destination group. Fill Name and Flag fields, click Create and new Destionations Group will be successfully created.
New destination group. Fill Name and Flag fields, click Create and new Destionations Group will be successfully created.
Add Destination to Destinations Group
When Destinations are created you are able to assign them into Destinations Groups in several ways:
1. Go to SETTINGS –> Billing –> Directions –> Groups and click on Destinations column ![]() View link to access the Destinations list for specific Destinations Group.
View link to access the Destinations list for specific Destinations Group.
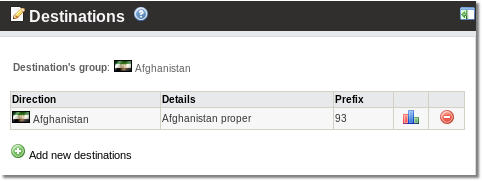
Click ![]() Add new Destinations and you will reached page where you can find all Destinations without Destinations Groups.
Add new Destinations and you will reached page where you can find all Destinations without Destinations Groups.
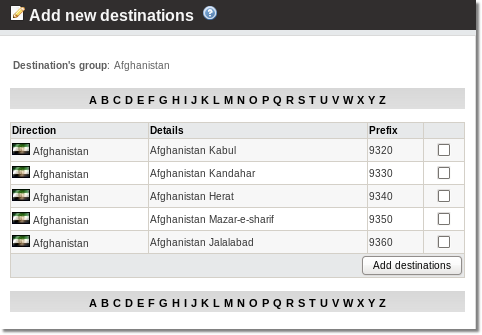
Check Destinations which you want to assign to the Group and click Add destinations. Destinations will be added to the Group.
2. Go to SETTINGS –> Billing –> Directions and click on Destinations column ![]() View link to access the Destinations list for specific Direction.
View link to access the Destinations list for specific Direction.
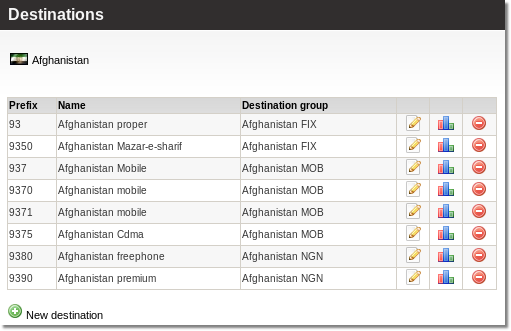
Click ![]() icon for chosen Destination and there you can reassign Destination to other Destinations Group or even Direcition.
icon for chosen Destination and there you can reassign Destination to other Destinations Group or even Direcition.
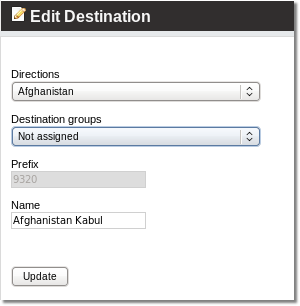
3. Destinations without Destinations Groups also will appear in SETTINGS –> Billing –> Directions –> Unassigned Destinations where you can assign them to the chosen Destinations Groups.
NOTE: A destination can belong to only one group at a time.
HINT: If you want to split a Destination Group, remove all Destinations from it, delete the old Destination Group, and create new ones. Then add the removed Destinations to the newly created Destination groups.
Usage
To assign specific rates for destinations groups, go to SETTINGS –> Billing –> Tariffs, click on Rates and you will see the list of destination groups that can be assigned to specific prices. Here you can find instructions how to enter rates for retail tariff and wholesale tariff
Move Prefix between Destination Groups with CSV
The functionality works only with existing prefixes in the system.
It is not possible to add or remove new prefixes using this fucntion.
Example:
You have Destination with Prefix 9377 in Group Afghanistan Mobile MTN:
And you want to move Destination with Prefix 9377 to another Destination Group, for example, Afghanistan - Fixed.
Create a folowing csv file:
prefix,action,dst_group_name
9374,add,Afghanistan - Fixed
Possible actions:
add - assign to destination_group
remove - unassign from destination_group
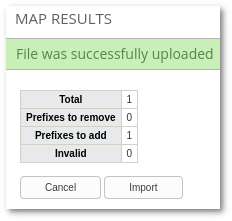
Upload this CSV:
By pressing Import, Destination with Prefix 9377 will be moved to Destination Group Afghanistan - Fixed.
Result:
Note: Destination Group Name must be unique. If there are Destination Groups with the same name, Prefix will not be moved.


