Destinations Groups
In order to make life easier and to manage prices for destinations, destinations are grouped.
With grouped destinations, one price applies for a group of destinations, rather than for destinations separately. (A group can contain one destination also.)
Destinations groups are for users, not for providers, because providers need to have very exact rates for each destination.
You can edit Destination Groups settings in SETTINGS – Billing – Directions – Groups.
NOTE: A destination can belong to only one group at a time.
HINT: If you want to split a Destination Group, remove all Destinations from it, delete the old Destination Group, and create new ones. Then add the removed Destinations to the newly created Destination groups.
How to add a destination group manually
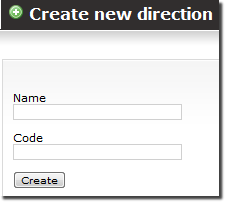
To add a destination group manually go to SETTINGS -> Billing -> Directions. Scroll down the list of existing destination groups and click ![]() New direction:
New direction:
Enter the name and direction code. Click Create. New direction has been created now you need to fill it with destinations. Click on ![]() Destinations and then click
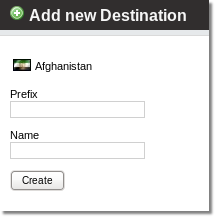
Destinations and then click ![]() New destination. You will see the following window:
New destination. You will see the following window:
Enter destination's prefix, select the code (MOB - mobile, FIX - fixed, NGN - non geographical number), enter the name and click Create. Add more destinations the same way if it is needed.


