Difference between revisions of "DID Logic"
From Kolmisoft Wiki
Jump to navigationJump to search
| Line 6: | Line 6: | ||
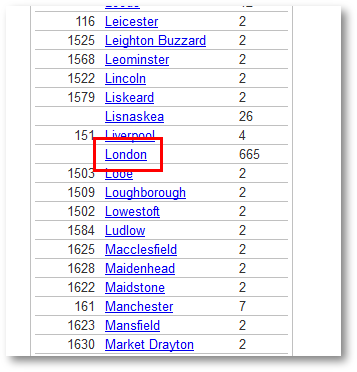
We selected UK and London: | |||
[[File:didlogic2.png]] | |||
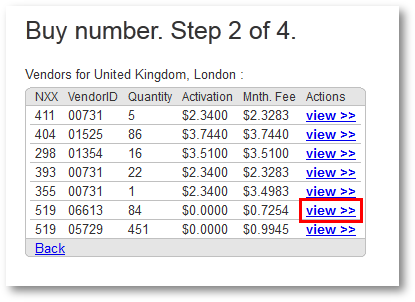
Select the price you like: | |||
[[File:didlogic3.png]] | [[File:didlogic3.png]] | ||
Select the DID number and enter your switch's IP address: | |||
[[File:didlogic4.png]] | [[File:didlogic4.png]] | ||
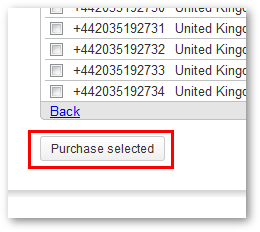
Press 'Purchase selected': | |||
[[File:didlogic5.png]] | [[File:didlogic5.png]] | ||
And go to Checkout: | |||
[[File:didlogic6.png]] | [[File:didlogic6.png]] | ||
Enter the amount in USD you wish to fill your account: | |||
[[File:didlogic7.png]] | [[File:didlogic7.png]] | ||
Read security warning: | |||
[[File:didlogic8.png]] | [[File:didlogic8.png]] | ||
Login to your PayPal account: | |||
[[File:didlogic9.png]] | [[File:didlogic9.png]] | ||
Confirm payment: | |||
[[File:didlogic10.png]] | [[File:didlogic10.png]] | ||
Wait till your payment is approved: | |||
[[File:didlogic11.png]] | [[File:didlogic11.png]] | ||
------------- | |||
Configure DID in MOR by following manual: [[Example - Configuring DID to ring some Device]] | |||
Revision as of 13:45, 6 October 2011
This short guide will show how to purchase DID from DIDLogic (http://didlogic.com/)
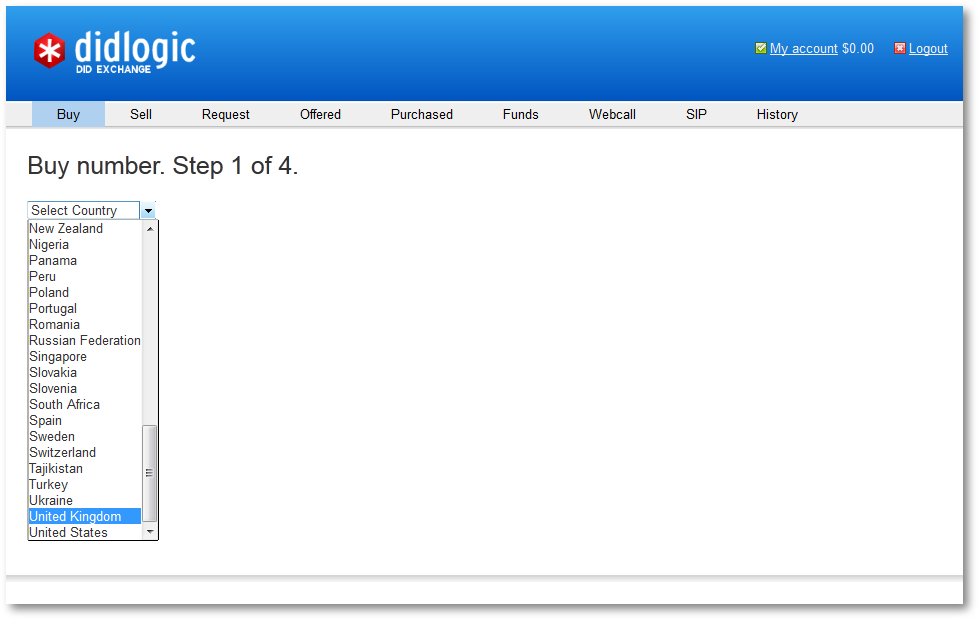
After registration you will be presented with the choice of Country for the DID:
We selected UK and London:
Select the price you like:
Select the DID number and enter your switch's IP address:
Press 'Purchase selected':
And go to Checkout:
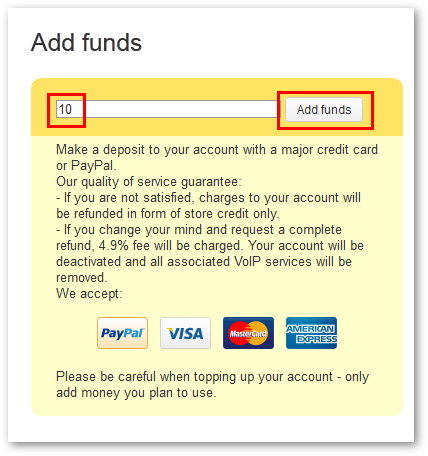
Enter the amount in USD you wish to fill your account:
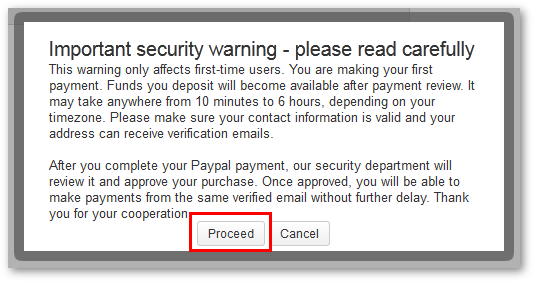
Read security warning:
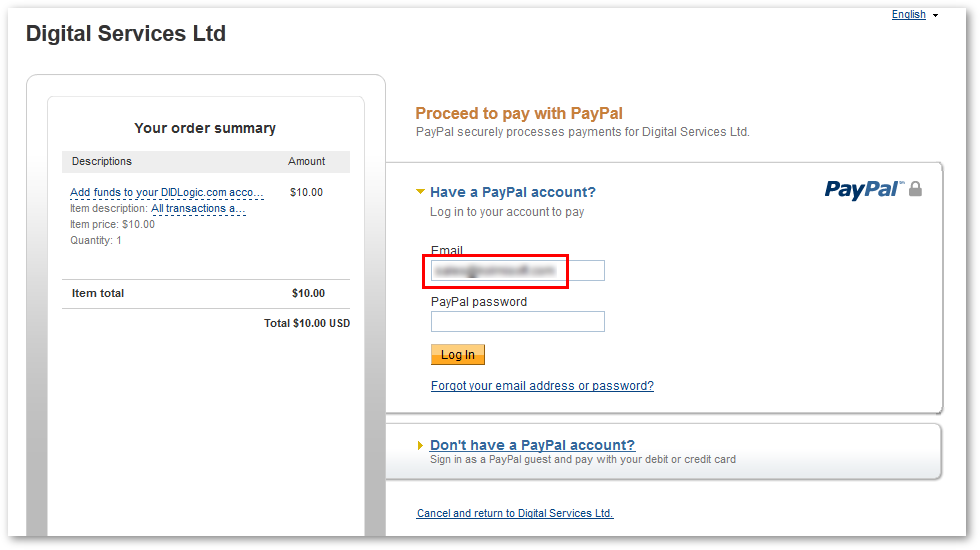
Login to your PayPal account:
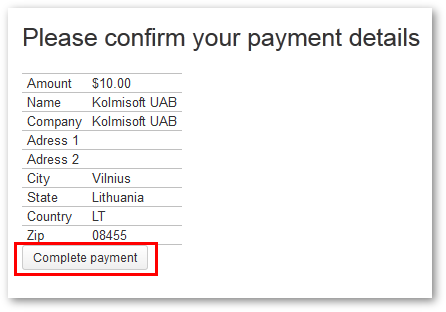
Confirm payment:
Wait till your payment is approved:
Configure DID in MOR by following manual: Example - Configuring DID to ring some Device
