Difference between revisions of "Paysera"
From Kolmisoft Wiki
Jump to navigationJump to search
(Created page with '<!---This functionality is available from MOR 8---> =Description= right https://www.paysera.com/index.html <br><br> =Configuration= Go to …') |
|||
| Line 1: | Line 1: | ||
<!---This functionality is available from MOR 8---> | <!---This functionality is available from MOR 8---> | ||
=Description= | =Description= | ||
[[Image:Paysera_logotype_internet.png|right]] | [[Image:Paysera_logotype_internet.png|right|200px]] | ||
https://www.paysera.com/index.html | https://www.paysera.com/index.html | ||
<br><br> | <br><br> | ||
=Configuration= | =Configuration= | ||
Go to '''ADDONS -> Payment gateways -> Payments''': | Go to '''ADDONS -> Payment gateways -> Payments''': | ||
Revision as of 09:20, 16 August 2016
Description
https://www.paysera.com/index.html
Configuration
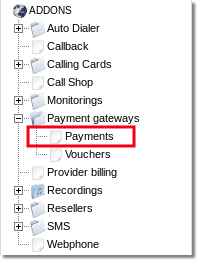
Go to ADDONS -> Payment gateways -> Payments:
Here you can see configuration settings of Paysera Payment Gateway
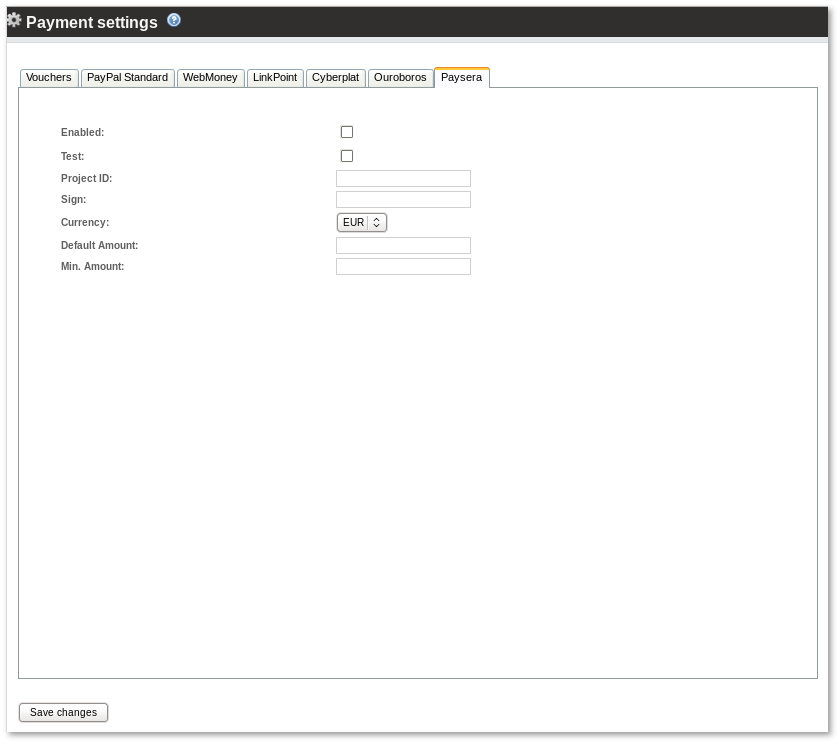
- Enabled – yes or no.
- Test - yes or no.
- Project ID – a Project ID.
- Sign – a Sign key.
- Currency – select a currency which will be used in transaction with Paysera.
- Default amount – amount to show for customer when he tries to enter payment. User can change this amount.
- Minimal amount – the minimum amount a user can send you.
Usage
Log in as User and, if Paysera is enabled, in front page you will see Paysera logo:
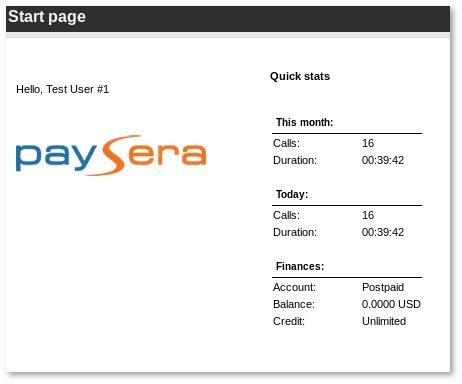
click on it to make a payment. In first step you can choose Payment amount:
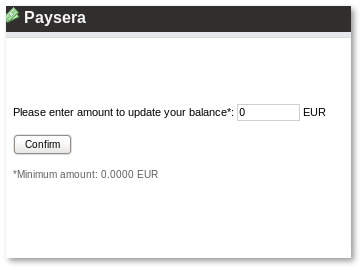
Second step is for Payment confirmation:
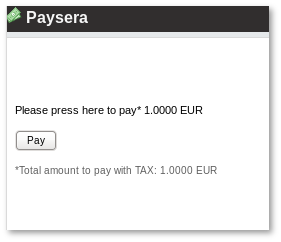
After confirmation you have to continue payment in Paysera page.
