Calling Card setup example
Card Group creation
We need to create a Calling Card Group to handle all such Cards.
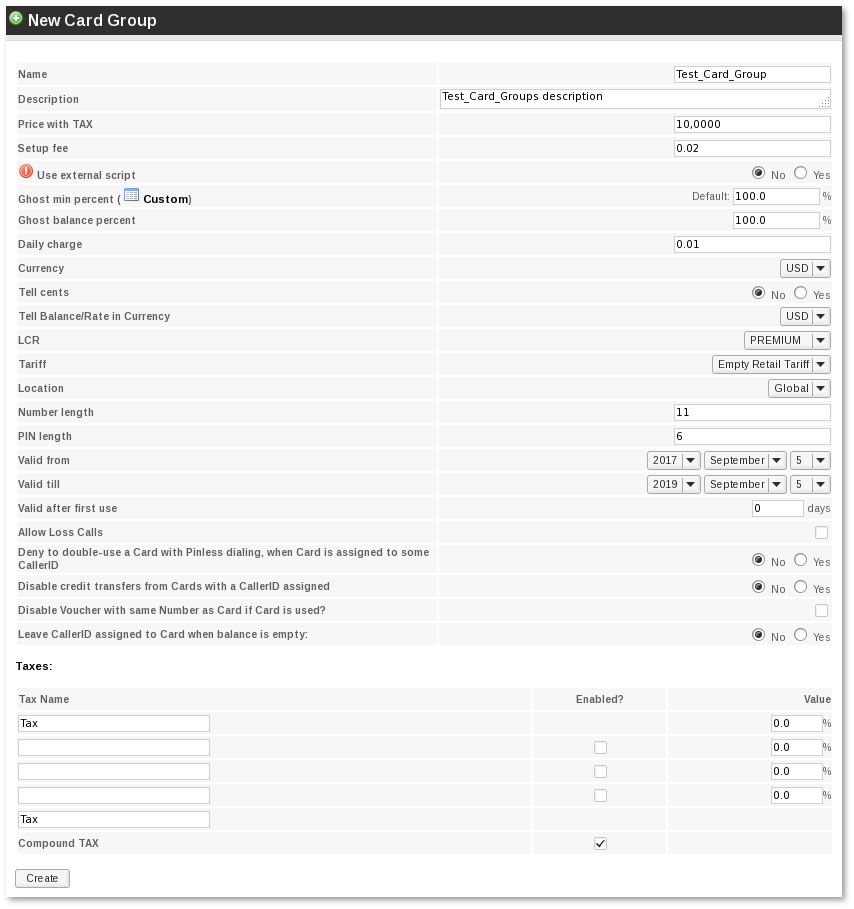
We go to ADDONS –> Card Groups and click ![]() New Card Group. In the new window, we enter our Card's details:
New Card Group. In the new window, we enter our Card's details:
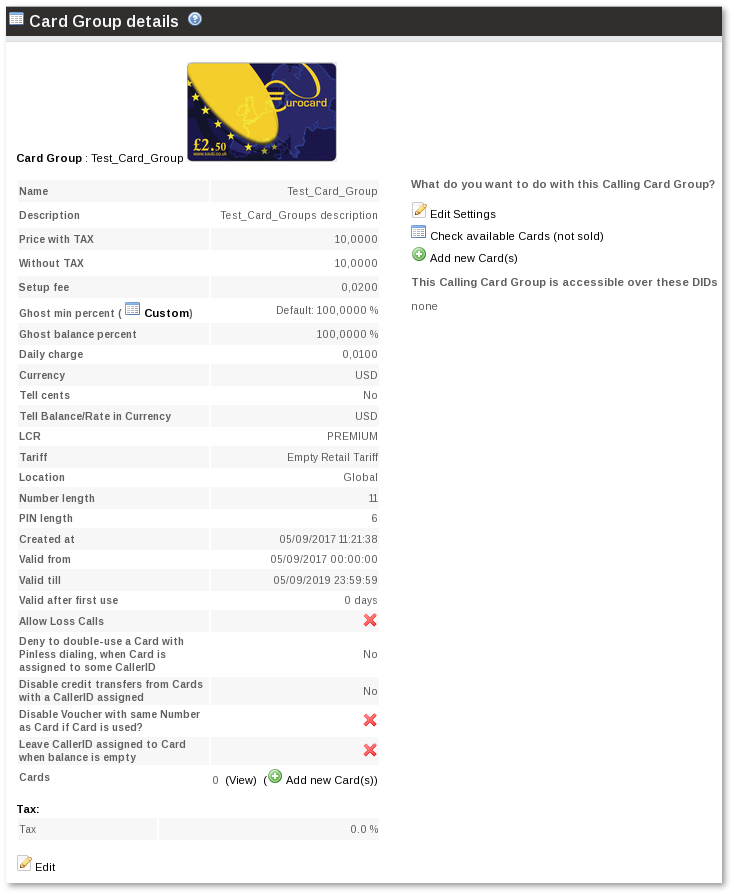
After creating a Card Group, we will see all its details:
VIDEO: How to create Calling Cards Group
Change image for Card Group
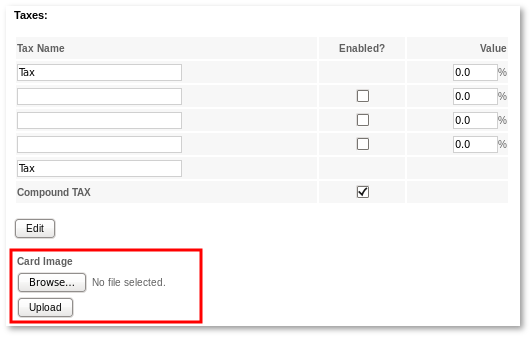
Click on ![]() and go back to the Group's details and select the image for your card:
and go back to the Group's details and select the image for your card:
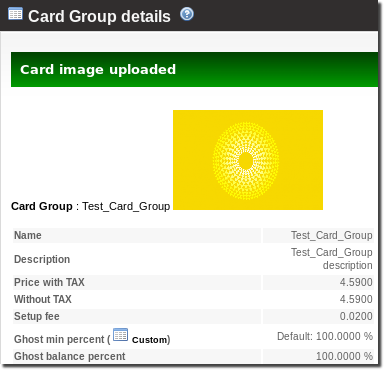
Click Upload:
Create Cards
Now we have a Calling Card Group, we need to generate some Cards. Click ![]() Add new Card(s):
Add new Card(s):
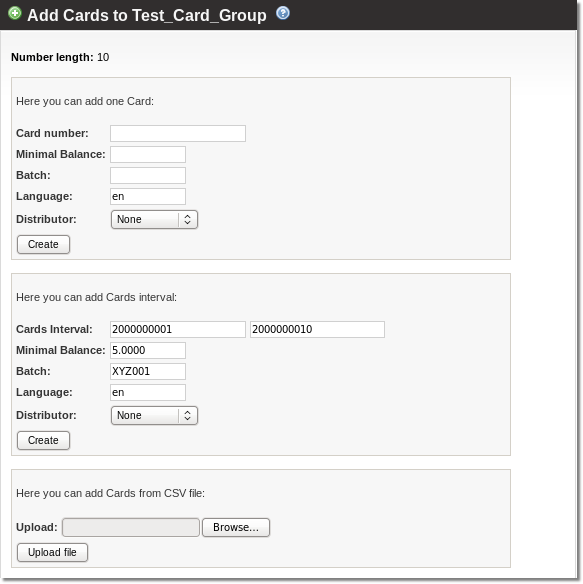
Here we will create ten Cards, starting from 2000000001:
VIDEO: How to create Calling Cards
Create a Dial Plan
Now that we have a Calling Card Group and Cards, we need to create rules on how to handle all these cards.
For that, we need to create a Dial Plan. Let's go to SETTINGS –> Billing –> DIDs –> Dial Plans
for resellers it is Routing -> DIDs -> Dial Plans and click ![]() New Dial Plan.
New Dial Plan.
In the new window, we enter the following details:
Name is just for informational purposes. Number and PIN length should match the settings of our newly created Calling Card Group.
We want IVR to ask for the number and PIN, so we leave "Ask only PIN" unchecked. IVR will tell the remaining time and balance.
IVR will ask for number/PIN and destination three times at most:
Assign a DID to the Dial Plan
In the last window, we see that we have no DID(s) assigned to our Dial Plan.
We need to go to SETTINGS –> Billing –> DIDs, for resellers it is Routing -> DIDs select some available DIDs and click the ![]() icon:
icon:
Here we select our Calling Card Test DP and click the ![]() confirmation mark.
confirmation mark.
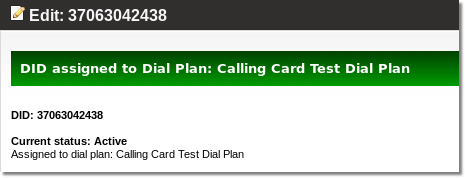
The new window shows the status of our action:
Mark Card as Sold
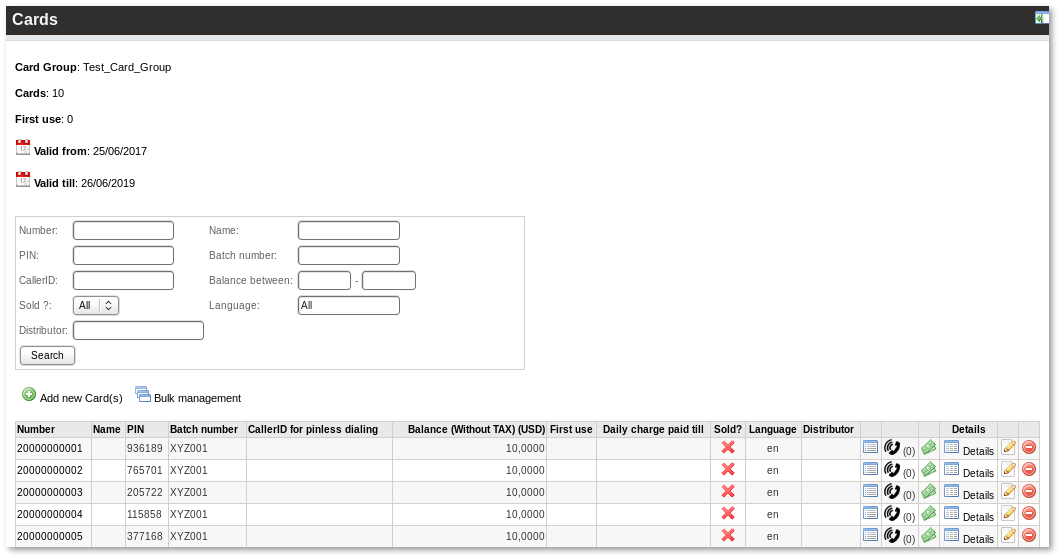
In order to be able to use Cards, they should be "sold", i.e. ready for usage.
Lets make one Card "sold" for testing.
Go back to the Cards list and click the ![]() icon chosen Card line.
Click the Buy icon:
icon chosen Card line.
Click the Buy icon:
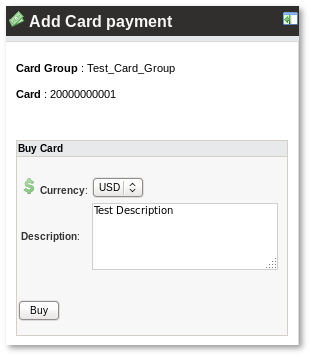
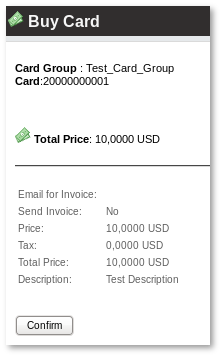
... and Confirm the purchase:
Now this Card is marked as "Sold" (![]() ) and can be used.
) and can be used.
VIDEO: How to mark Card as sold
Conclusion
That's it. The Calling Card engine is ready to serve calls.
In our example, number 37063042438 is the Access number to be dialed to reach IVR.
When you dial this number (in the example), IVR will ask for the card number/PIN to be entered and follows all other Calling Card logic.
