Difference between revisions of "OVH server installation"
m |
|||
| Line 21: | Line 21: | ||
[[Image:ovh_install_5.png]] | [[Image:ovh_install_5.png]] | ||
<br><br> | <br><br> | ||
Now select "Linux Operating System", "Basic distribution", "Operating System CentOS | Now select "Linux Operating System", "Basic distribution", "Operating System CentOS 6.2" and "64 bits": | ||
<br><br> | <br><br> | ||
[[Image:ovh_install_6.png]] | [[Image:ovh_install_6.png]] | ||
| Line 29: | Line 29: | ||
[[Image:ovh_install_7.png]] | [[Image:ovh_install_7.png]] | ||
<br><br> | <br><br> | ||
Select "Personalized layout of partition:", change drop-down menu value to " | Select "Personalized layout of partition:", change drop-down menu value to "RAID Software" and click "Validate": | ||
<br><br> | <br><br> | ||
[[Image:ovh_install_8.png]] | [[Image:ovh_install_8.png]] | ||
<br><br> | <br><br> | ||
Change "File system:" value to "ext3" and "Mountpoint" value to "/". Specify new partition size ( | Change "File system:" value to "ext3" and "Mountpoint" value to "/". Specify new partition size (3 GB should be left for "swap" partition). | ||
Click "Add the partition": | Click "Add the partition": | ||
<br><br> | <br><br> | ||
| Line 39: | Line 39: | ||
<br><br> | <br><br> | ||
Now create swap partition.<br> | Now create swap partition.<br> | ||
Change "Partition type" value to "primary" and "File system" value to "swap". Specify swap partition size: | Change "Partition type" value to "primary" and "File system" value to "swap". Specify swap partition size. 1GB of free space should be left: | ||
<br><br> | <br><br> | ||
[[Image:ovh_install_10.png]] | [[Image:ovh_install_10.png]] | ||
| Line 46: | Line 46: | ||
<br><br> | <br><br> | ||
[[Image:ovh_install_11.png]] | [[Image:ovh_install_11.png]] | ||
<br><br> | <br><br> | ||
Installation takes few minutes: | Installation takes few minutes: | ||
Revision as of 08:33, 12 April 2012
First of all, you need to open OVH web page: http://www.ovh.co.uk/
Click "Manager" on the top of page:

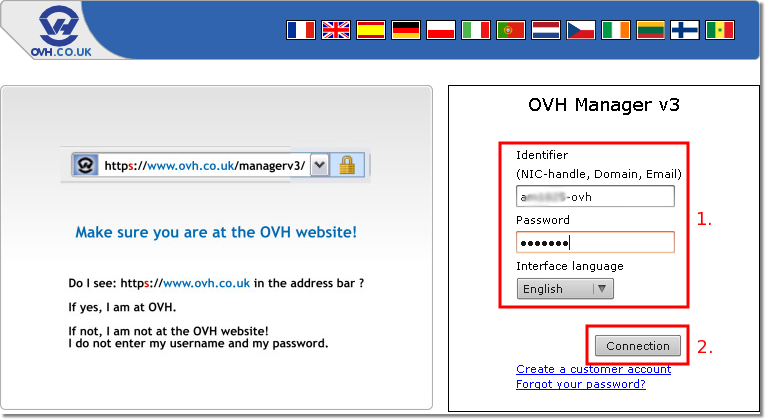
Enter your OVH login details and click "Connection":
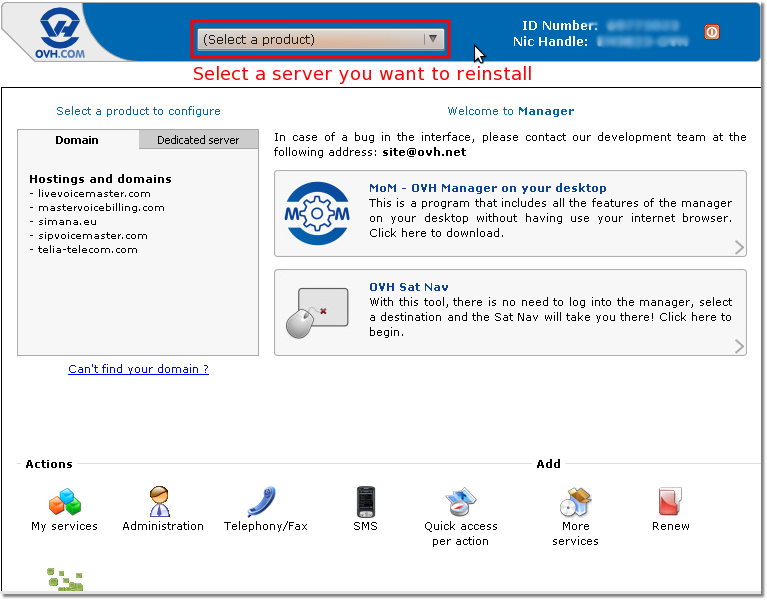
Select certain server:
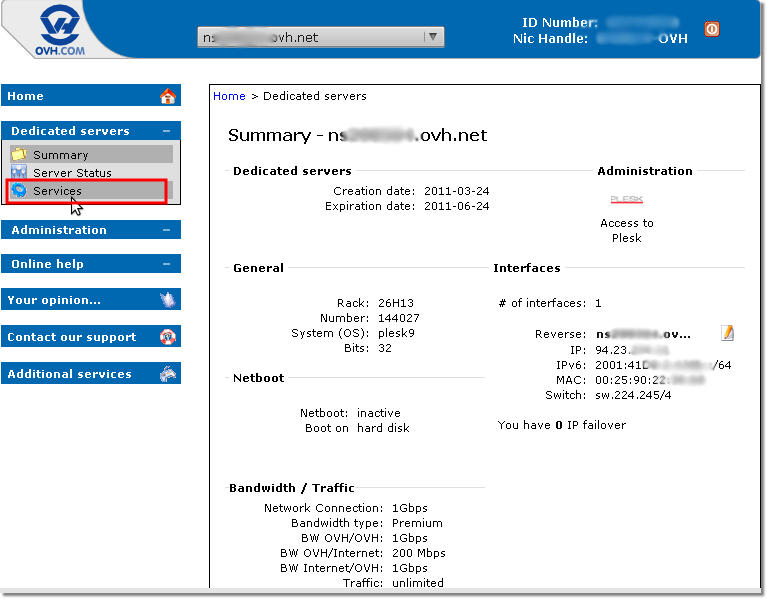
Click "Services" on the menu:
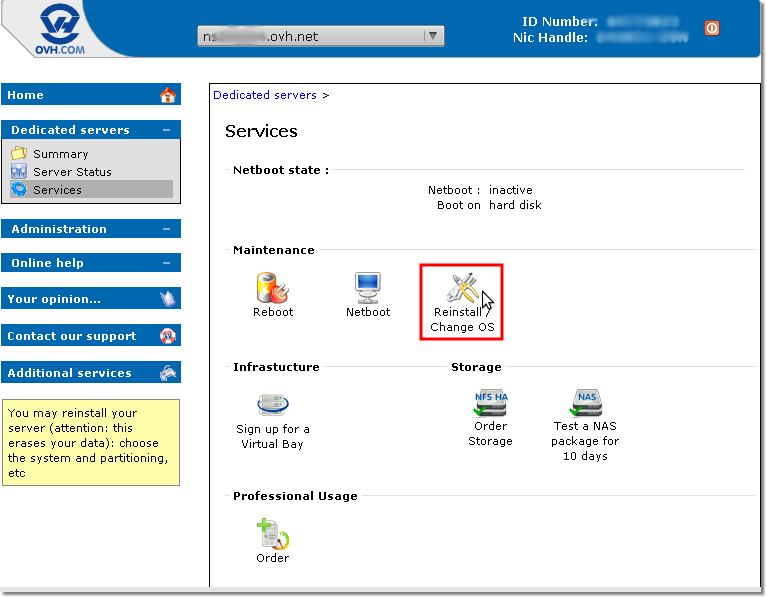
Click "Reinstall/Change OS" icon:
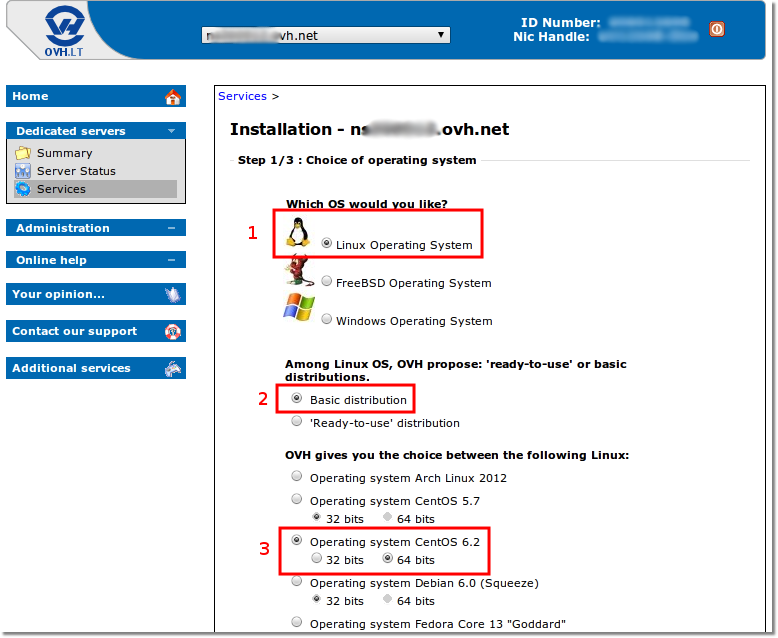
Now select "Linux Operating System", "Basic distribution", "Operating System CentOS 6.2" and "64 bits":
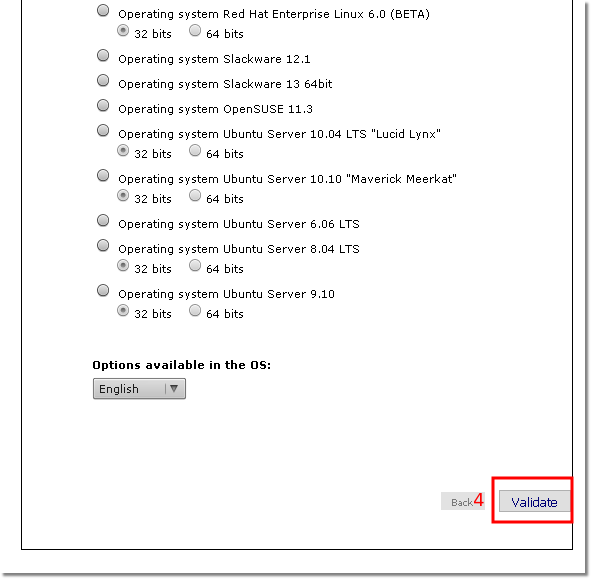
Scroll down the page and click "Validate":
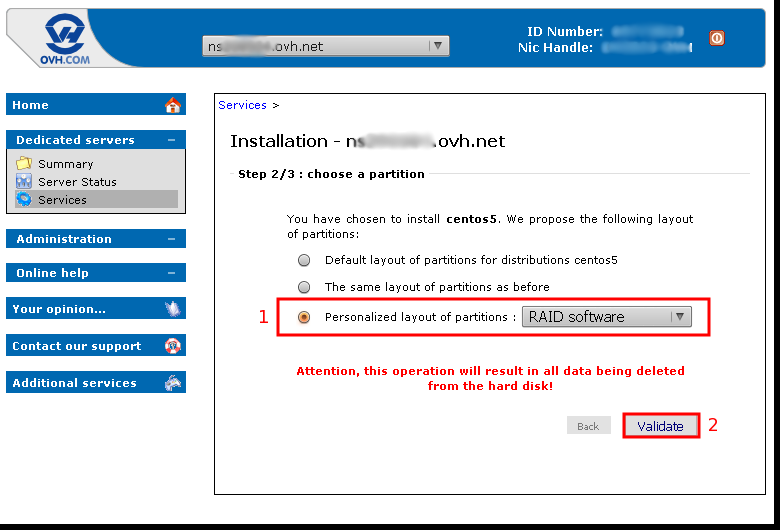
Select "Personalized layout of partition:", change drop-down menu value to "RAID Software" and click "Validate":
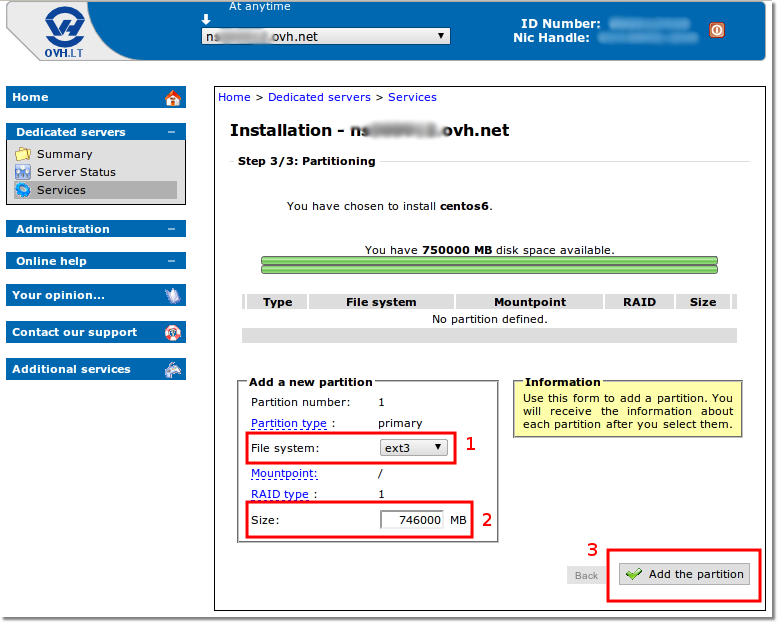
Change "File system:" value to "ext3" and "Mountpoint" value to "/". Specify new partition size (3 GB should be left for "swap" partition).
Click "Add the partition":
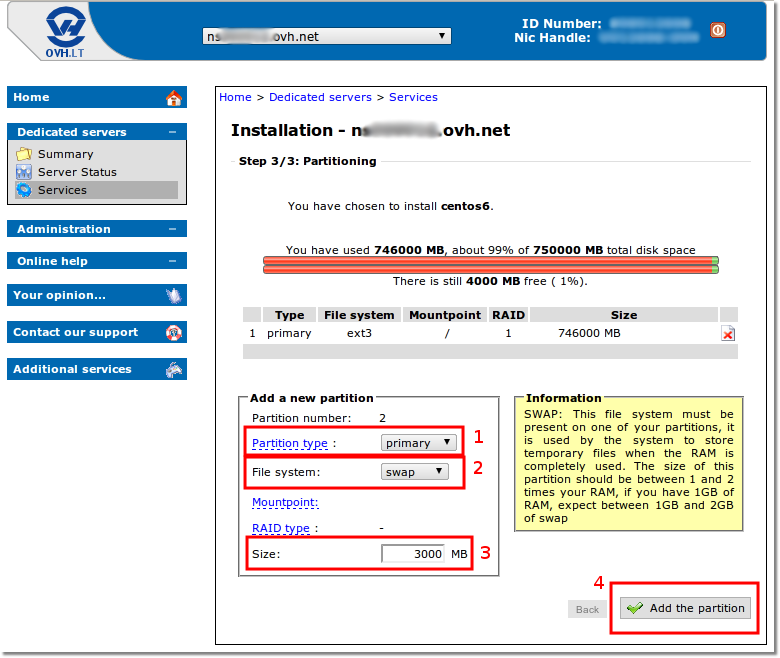
Now create swap partition.
Change "Partition type" value to "primary" and "File system" value to "swap". Specify swap partition size. 1GB of free space should be left:
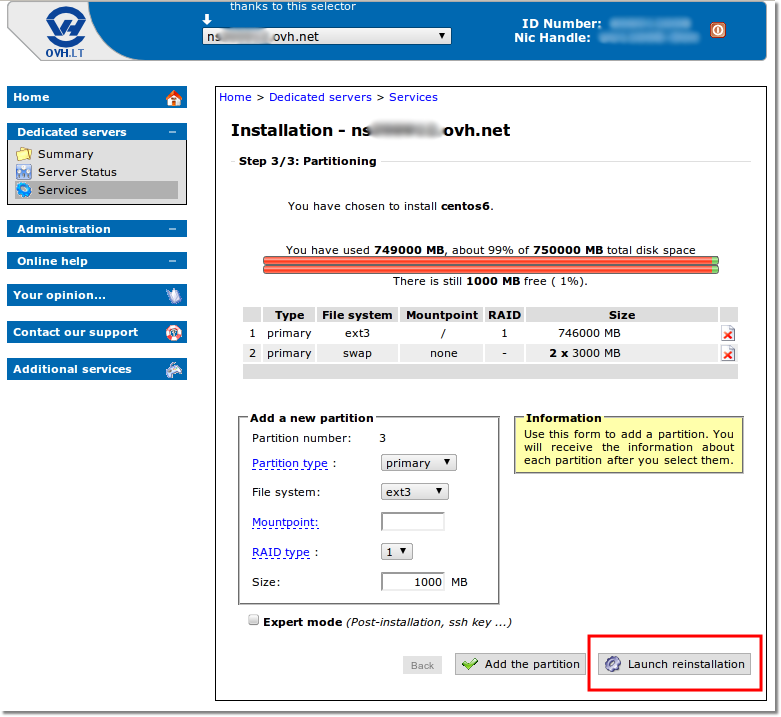
Launch reinstallation:
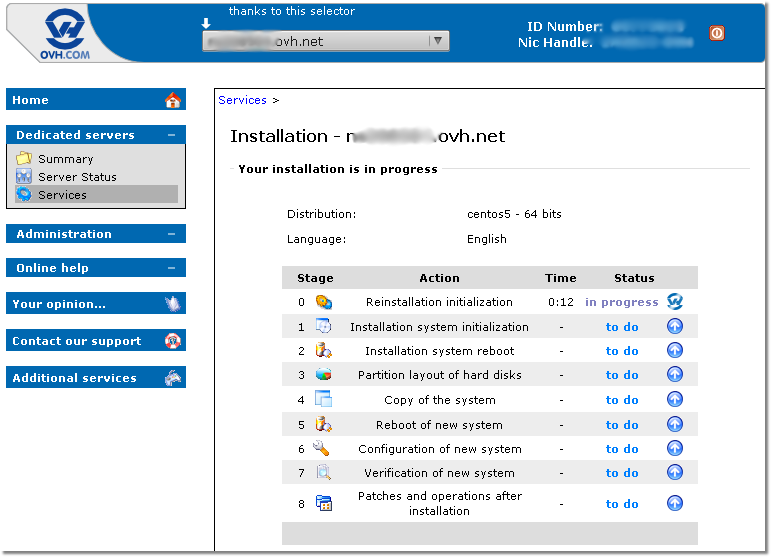
Installation takes few minutes:
And your installation is complete. To get new server login details, please check your e-mail:
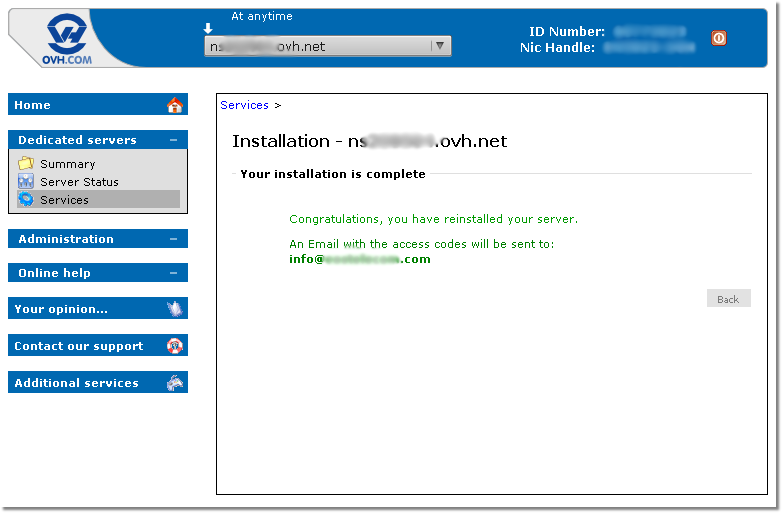
Server is ready!
