Difference between revisions of "PBX Menus and IVRs"
| Line 51: | Line 51: | ||
[[File:Callflow14.png]] | [[File:Callflow14.png]] | ||
Please note, for example, if you choose 1 as your Menu option, callers will be prompted to press 1 to be connected to the specified callflow. | Please note, for example, if you choose 1 as your Menu option, callers will be prompted to press 1 to be connected to the specified callflow. | ||
Also to clarify, 'Default Action' is when a caller does not choose a Menu option or chooses an incorrect Menu option. If this occurs, the caller will then be connected to this | Also to clarify, 'Default Action' is when a caller does not choose a Menu option or chooses an incorrect Menu option. | ||
If this occurs, the caller will then be connected to this specified callflow. | |||
14.Click OK. | 14.Click OK. | ||
| Line 93: | Line 93: | ||
[[File:Callflow21.png]] [[File:Callflow22.png]] | [[File:Callflow21.png]] [[File:Callflow22.png]] | ||
Please note that you will be asked for the Prompt Record PIN that you created in step 9. Don't worry if you have forgotten it, simply click on the Menu element you have created and click on Edit menu options. | Please note that you will be asked for the Prompt Record PIN that you created in step 9. | ||
Don't worry if you have forgotten it, simply click on the Menu element you have created and click on Edit menu options. | |||
Revision as of 21:50, 11 December 2017
Building menus and IVRs isn't much more complicated then building a basic callflow but there are a few gotchas you should know. We'll go through building a basic main menu that might answer your company's main line during the day and direct callers to extensions or departments.
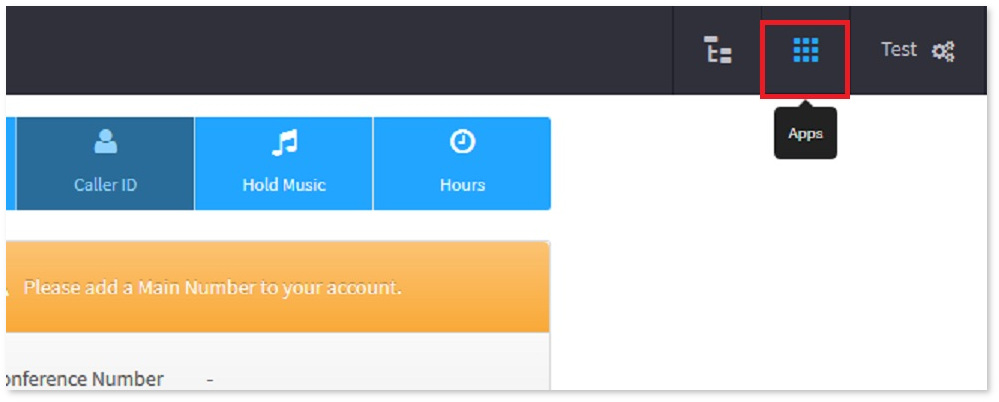
1.Press button app
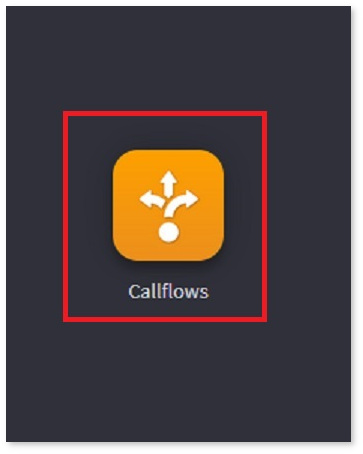
2.Choose Call Flow App
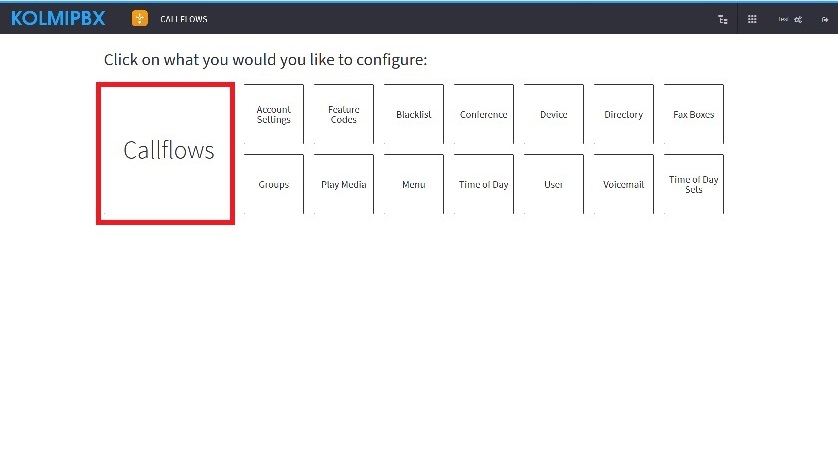
3.Press button Callflows
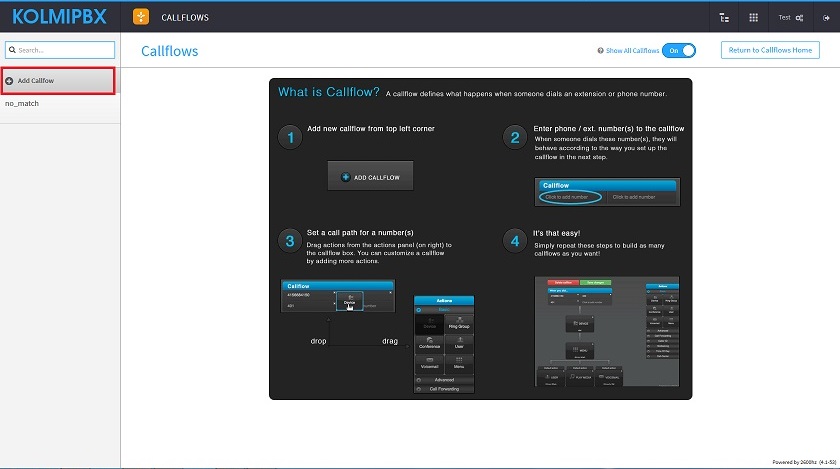
4.Click Add Callflow at the top left
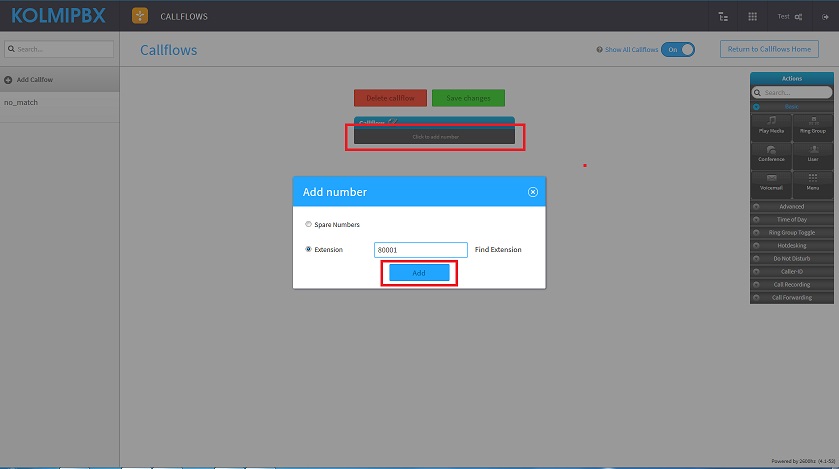
5.Click in the area labeled "Click to add number"
6.In the pop-up, you can configure either an extension number or a phone number that is on your account. For extension numbers you can make up any number of any length as long as it is not already in use.
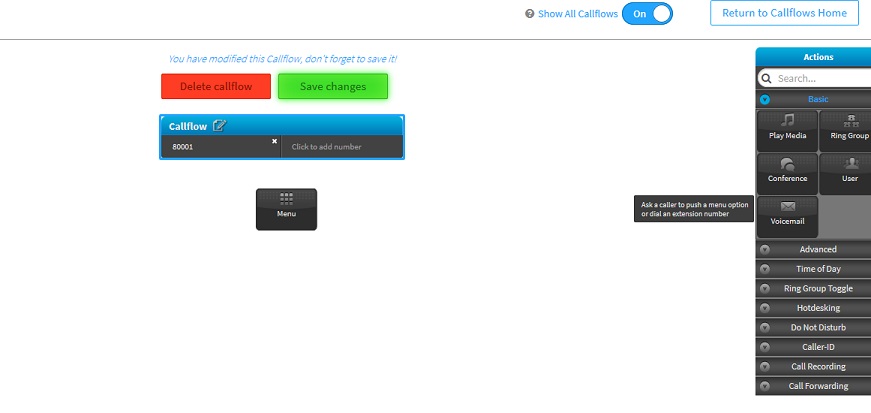
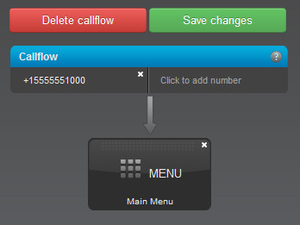
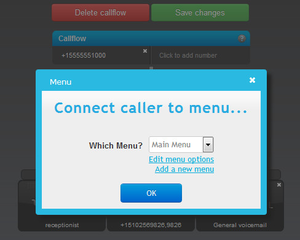
7.Drag the Menu element from Actions box, on the right, to the Callflow.
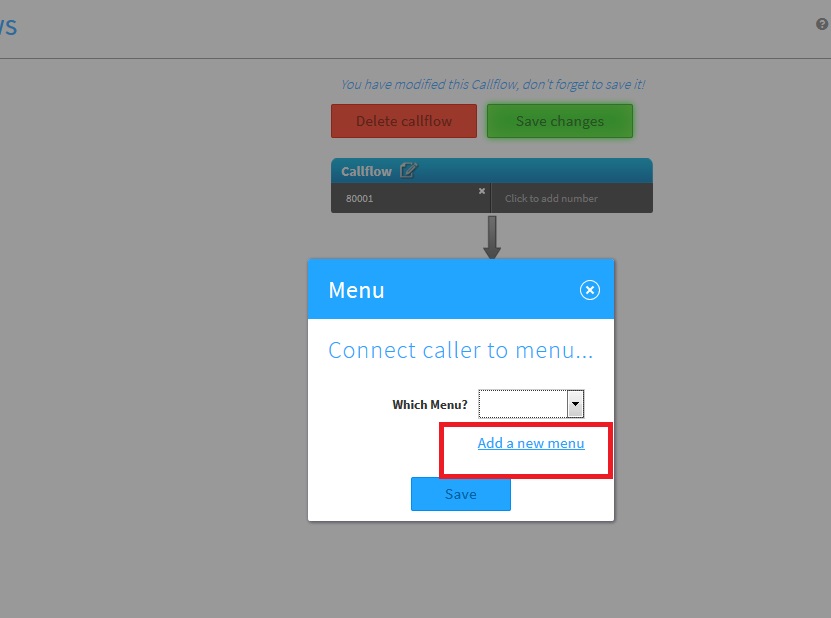
8.Click on Add a new menu.
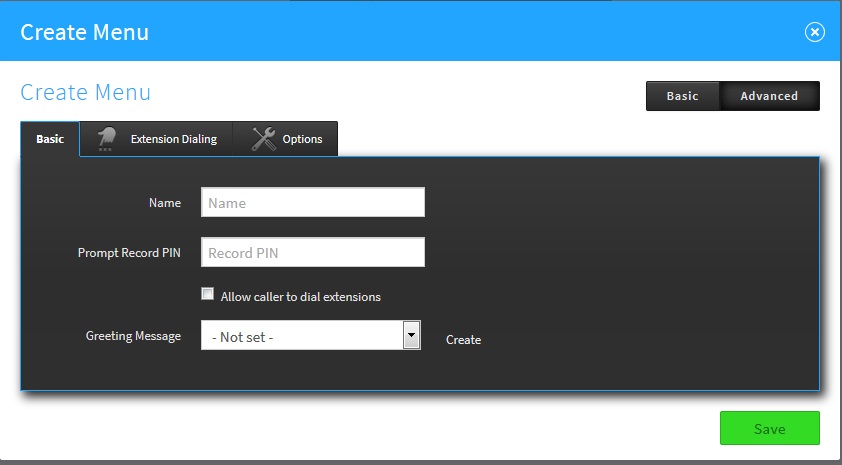
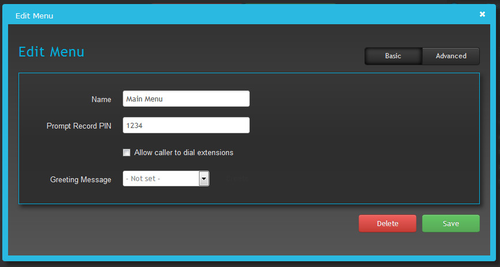
9.Fill out the basic fields for the Name, Prompt Record PIN, Check the Allow caller to dial extensions box if you choose to, leave the Greeting Message as Not Set.
10.Click the Save button.
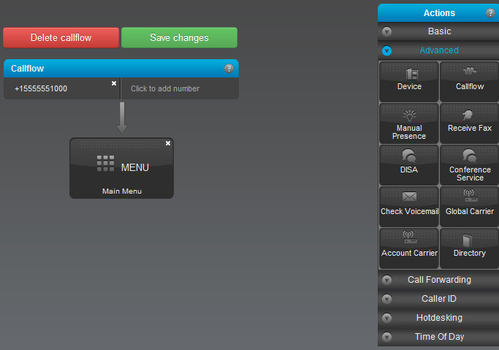
11.In the Actions box, on the right, click on Advanced.
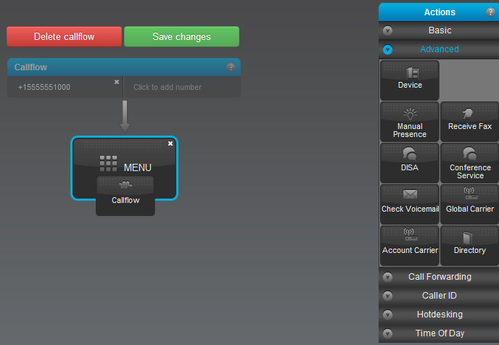
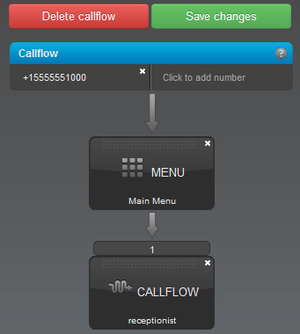
12.Drag the Callflow element over the Menu you just created.
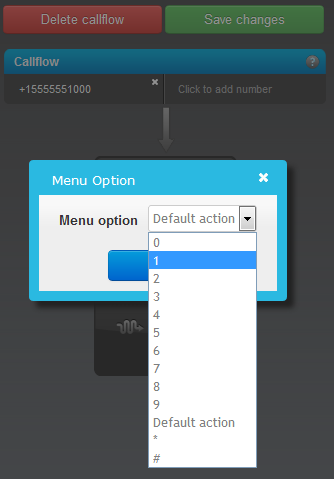
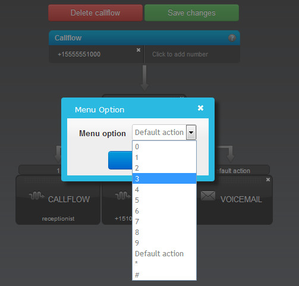
13.Choose the Menu option from the drop down box.
     Please note, for example, if you choose 1 as your Menu option, callers will be prompted to press 1 to be connected to the specified callflow.
     Also to clarify, 'Default Action' is when a caller does not choose a Menu option or chooses an incorrect Menu option.
     If this occurs, the caller will then be connected to this specified callflow.
14.Click OK.
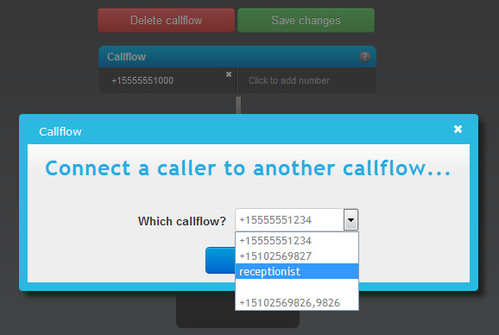
15.Choose a callflow from the drop down box that you would like callers to be connected to.
If you have not created a callflow, please see our Wiki page Call Flow.
16.Click OK.
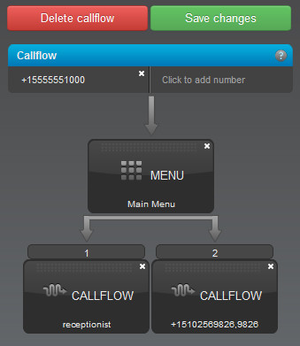
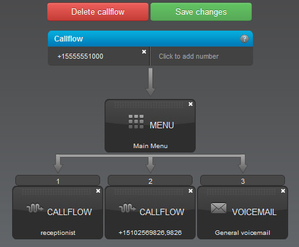
17.Repeat steps 15 and 16 until your Menu options are complete.
18.Be sure you have not forgotten an option for callers to leave a voicemail!
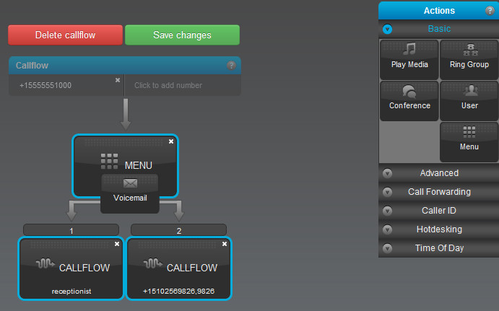
19.In the Actions box, on the right, click on Basic and drag the voicemail element over the Menu you created.
20.Choose the Menu option from the drop down box.
21.Click OK.
22.Click on the green Save changes button on the top right.
23.Your Menu is now complete! Just one more step, record your personal menu greeting.
24.Dial the number you designated to the Menu and record your personal menu greeting.
 Please note that you will be asked for the Prompt Record PIN that you created in step 9.
 Don't worry if you have forgotten it, simply click on the Menu element you have created and click on Edit menu options.
