Difference between revisions of "OVH server installation"
From Kolmisoft Wiki
Jump to navigationJump to search
| Line 33: | Line 33: | ||
[[Image:OVH8.png]] | [[Image:OVH8.png]] | ||
<br><br> | <br><br> | ||
'''IMPORTANT'''. Choose '''Install Original Kernel''' | |||
Confirm installation. | Confirm installation. | ||
<br><br> | <br><br> | ||
Revision as of 09:12, 14 November 2018
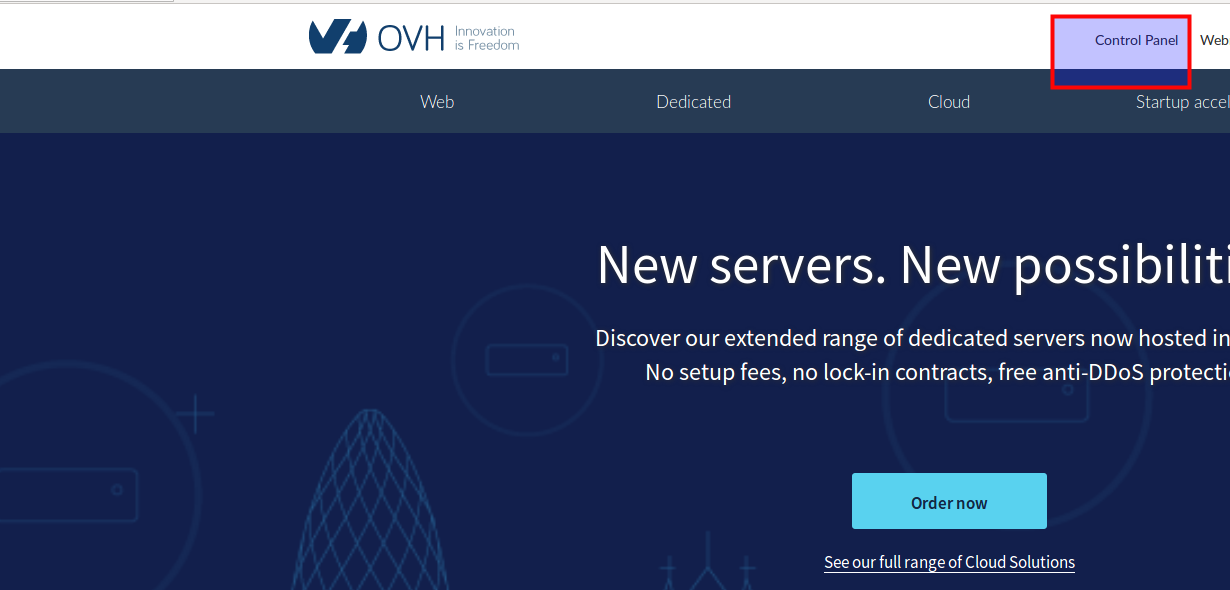
First of all, you need to open OVH web page: http://www.ovh.co.uk/
Click "Control Panel" on the top of page:
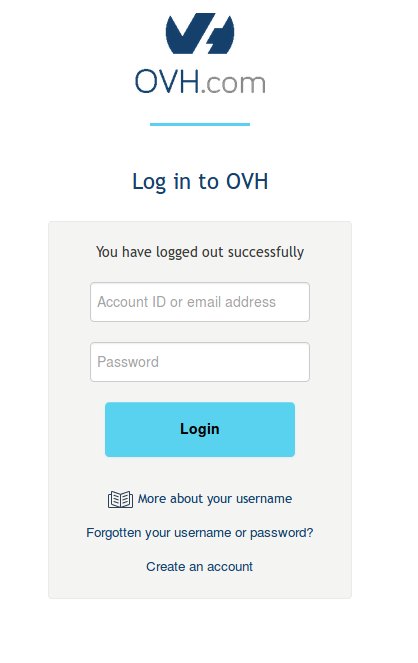
Enter your OVH login details and click "Login":
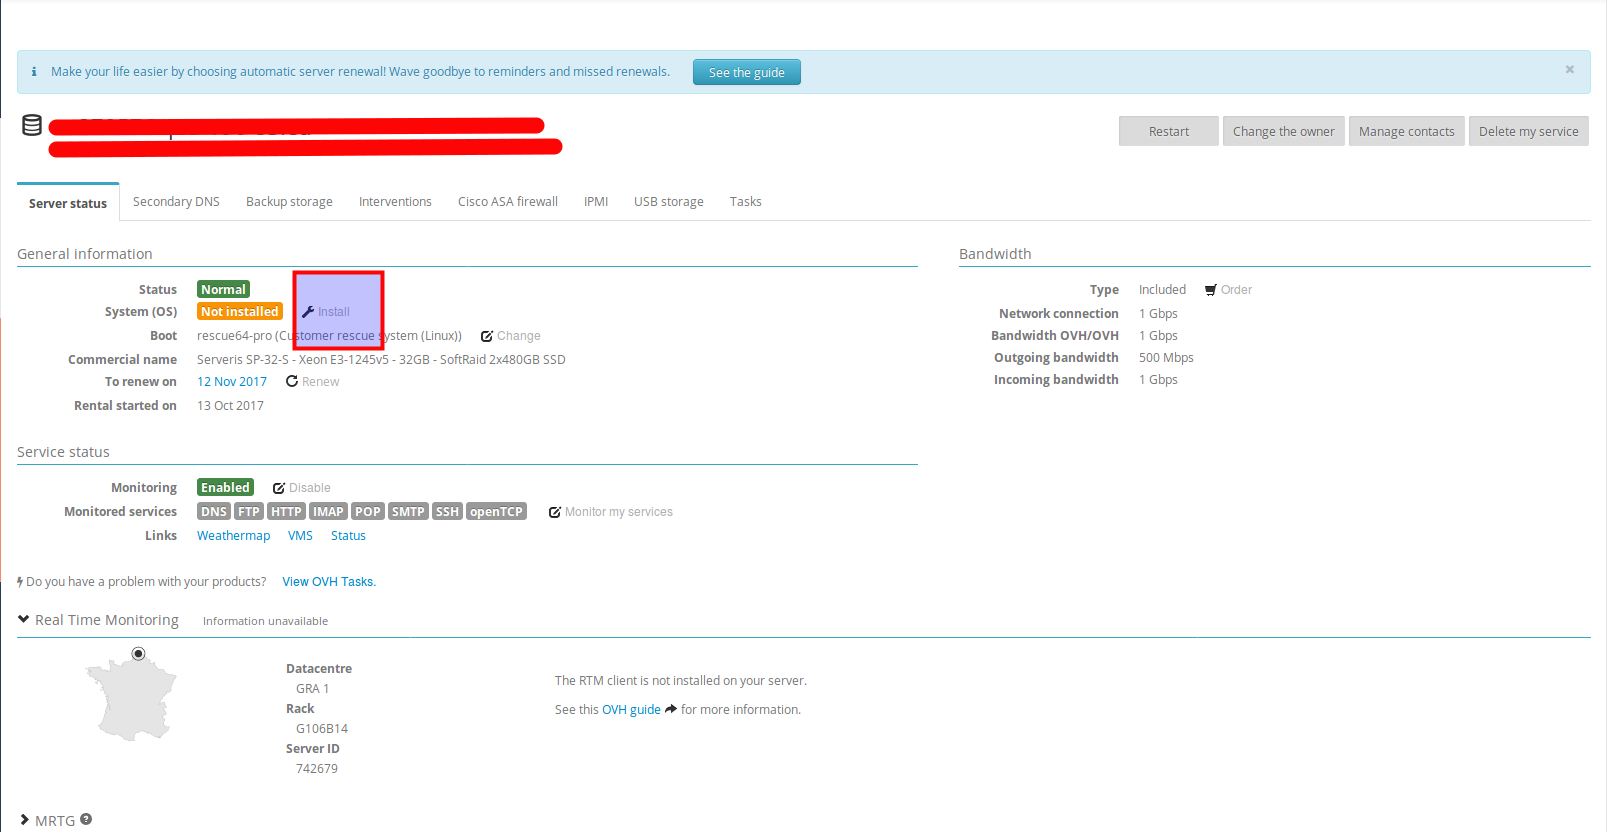
Select certain server from Dedicated Servers:

Click "Install" in the menu:
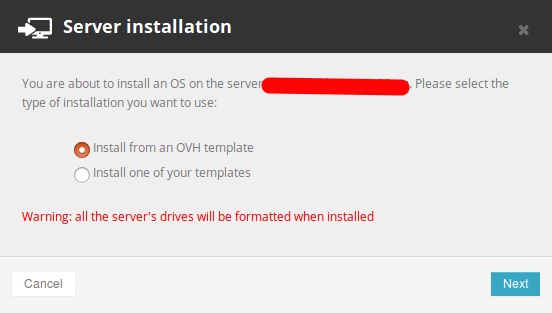
Select "Install from an OVH template"
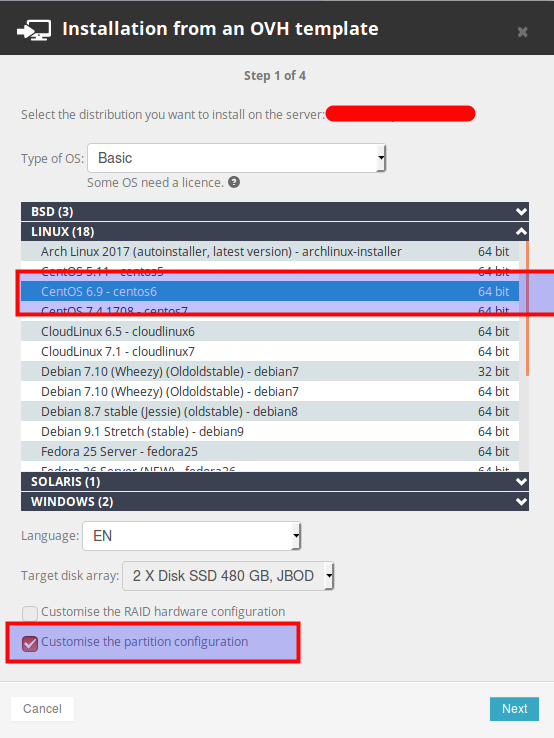
Choose CentOS 6. 64bit and also "Customise the partition configuration"
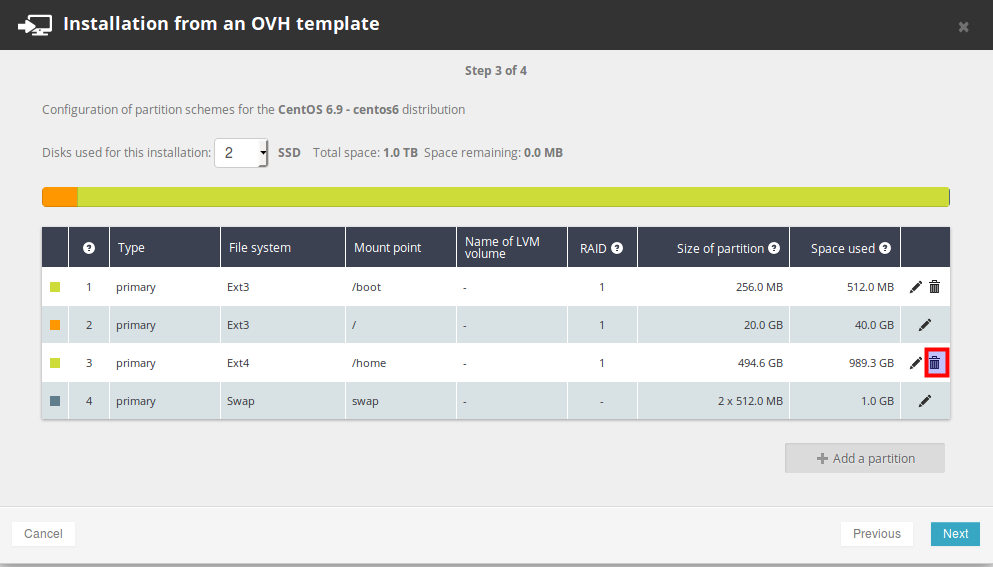
All space should be assigned to / directory. Click on "Delete /home partition"
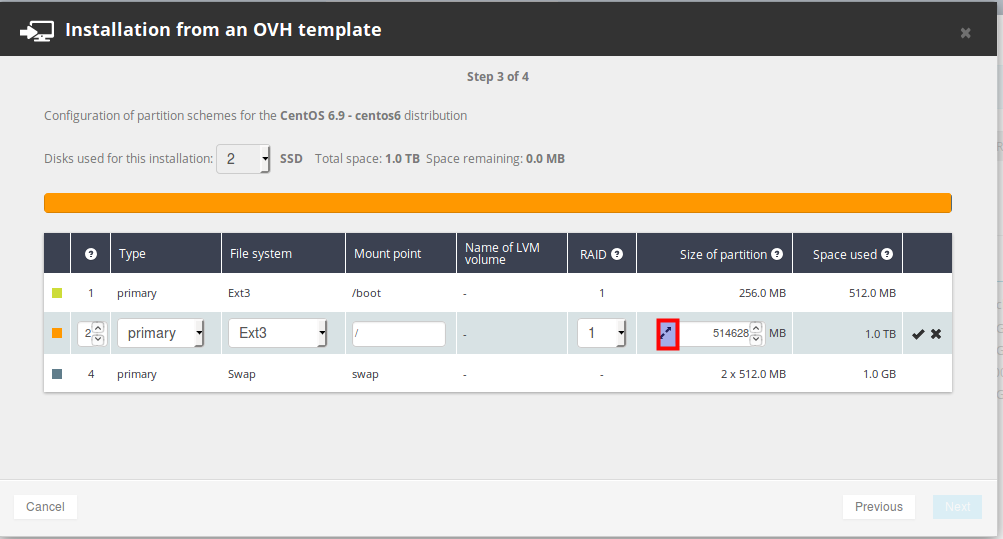
Assign all space to / directory.
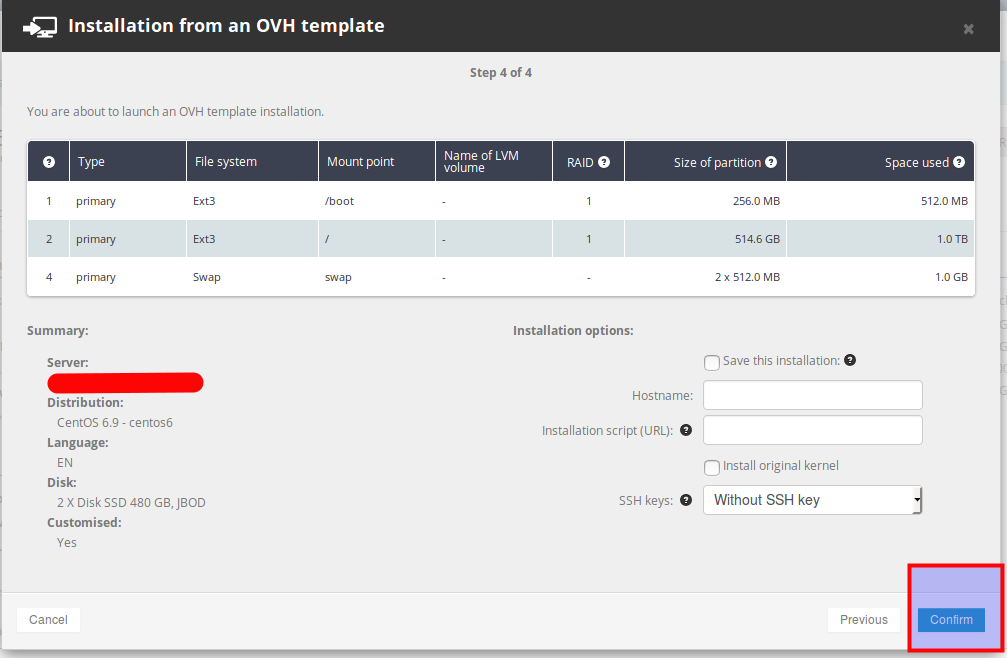
IMPORTANT. Choose Install Original Kernel
Confirm installation.
Installation takes few minutes:
And after installation is complete. To get new server login details, please check your e-mail.
Server is ready!
