Difference between revisions of "Didx.net"
(Created page with '=What is didx.net= DIDX (DIDXchange) is where Internet protocol communications companies buy and sell DID (Direct Inward Dialing) phone numbers. =How to configure a DID purchased…') |
m |
||
| Line 44: | Line 44: | ||
[[File:Users_device.png]] | [[File:Users_device.png]] | ||
<br><br> | <br><br> | ||
8. | 8. Select the marked icon for an appropriate device: | ||
<br><br> | |||
[[File:101_devices_call_flow_sip.png]] | |||
<br><br> | |||
9. Select the marked icon: | |||
<br><br> | |||
[[File:Callflow_before_call_edit.png]] | |||
<br><br> | <br><br> | ||
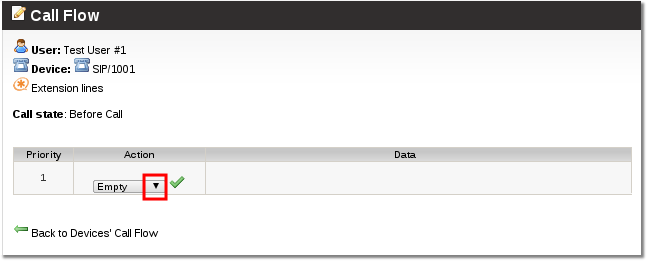
10. Click the marked triangle and select the option '''"Forward"''': | |||
<br><br> | |||
[[File:Callflow_edit_triangle.png]] | |||
<br><br> | |||
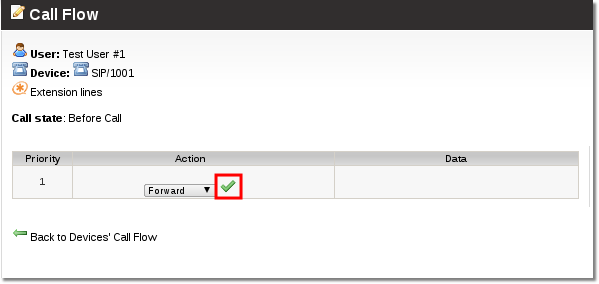
11. Click the marked icon: | |||
<br><br> | |||
[[File:Callflow_forward_click_tick.png]] | |||
<br><br> | <br><br> | ||
Revision as of 09:54, 20 August 2010
What is didx.net
DIDX (DIDXchange) is where Internet protocol communications companies buy and sell DID (Direct Inward Dialing) phone numbers.
How to configure a DID purchased from didx.net to work with MOR?
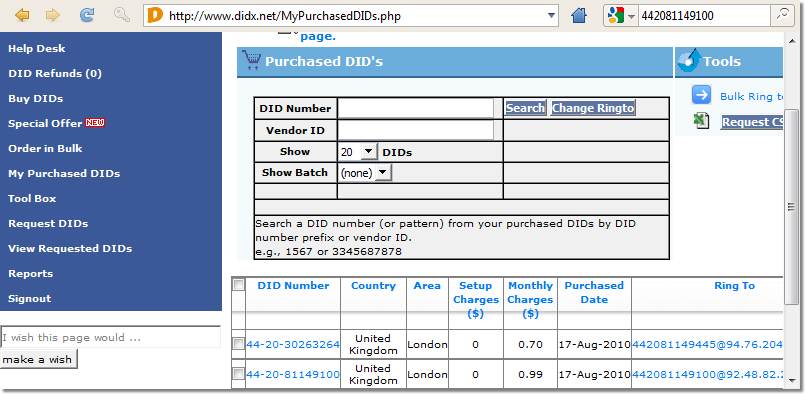
1. Go to purchased DIDs:
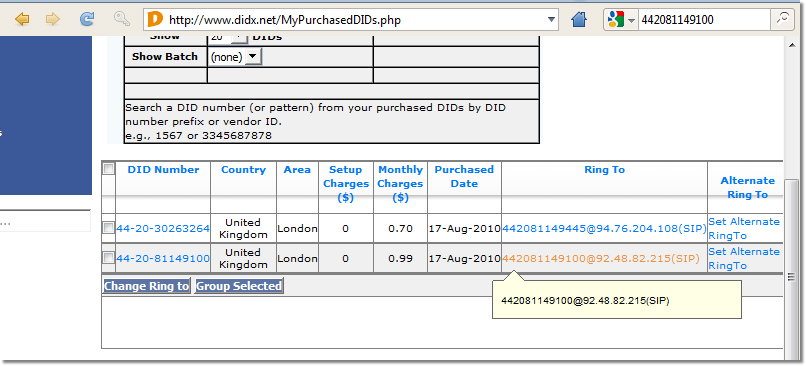
2. Then select a DID for edit:
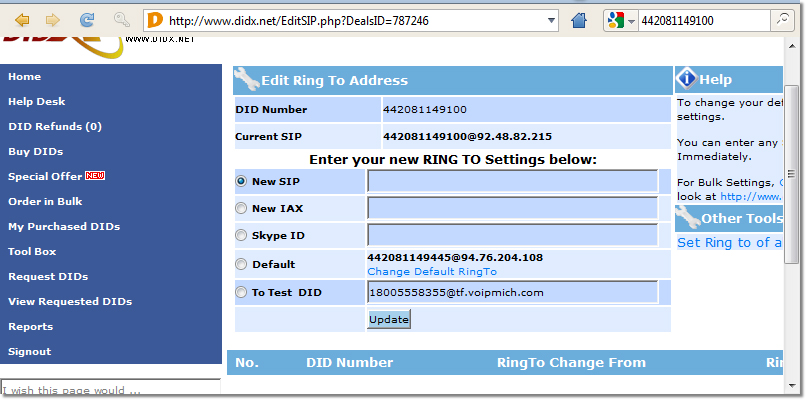
3. Select "New SIP"
In this field you have to enter your DID and server address with the following syntax: DID@example.com
For example:
You have purchased a DID: 37068111888 Your MOR server address is: 127.0.0.1
Then you have to put in this field:
37068111888@127.0.0.1
Don't forget to press the update button!
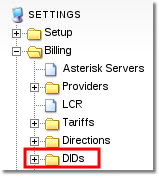
4. Now login to MOR GUI and go to SETTINGS - Billing -> DIDs
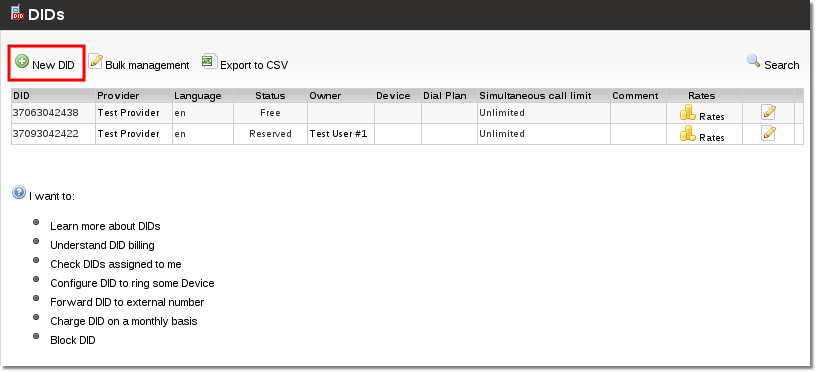
5. Now create a new DID and leave it free at the moment. To create a DID press the marked icon:
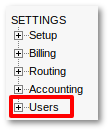
6. Now go to SETTINGS - Users:
7. Select the marked icon (you must select the correct icon from the column which represents the user you want to assign DID to):

8. Select the marked icon for an appropriate device:

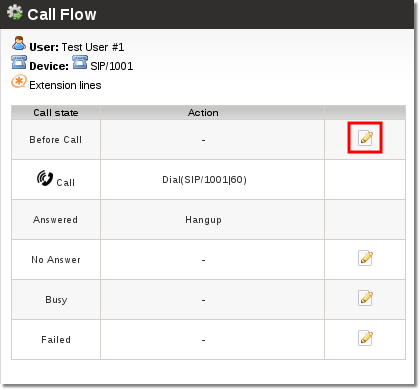
9. Select the marked icon:
10. Click the marked triangle and select the option "Forward":
11. Click the marked icon:
