Manual for Resellers
Attention
Dear Reseller User Type prospective MOR user, before reading any further, please note that all Rates, and Taxes below are only sample Rates to show you around our reseller panel but do not reflect and are not related to our current real Rates.
Dear MOR User, This is your guide on how to navigate through your reseller panel page by page with screen caps.
Login
When you first login from the URL http://<YOUR_URL>/billing with your reseller ID and password, you will go to the following page:
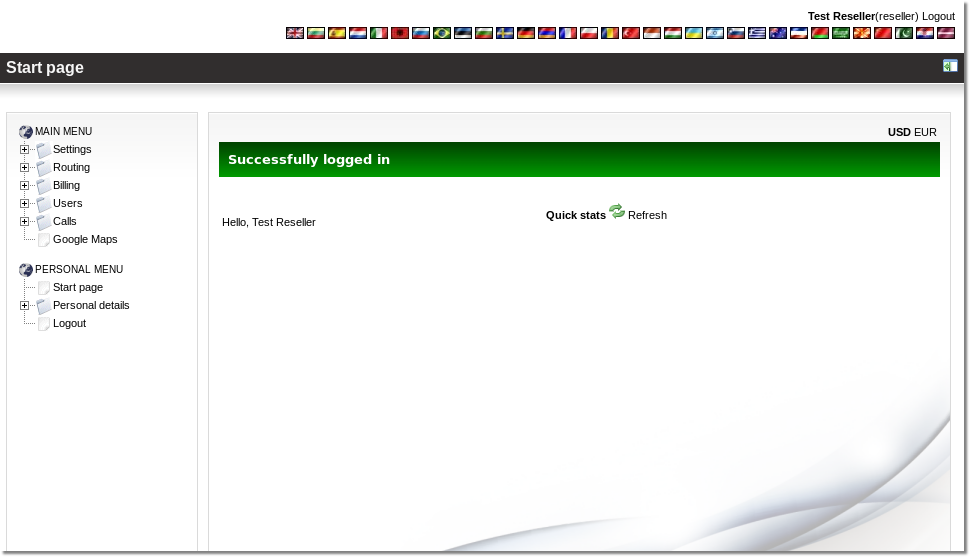
On this page you can see on the Very Top Right, a group of flags, by clicking each flag you can change the language of your display to your own native language or your preference, try to click on every flag if you want to change the language.
Then you see info about Your Balance and Calls made by your users Today and During this month.
Now please take a look at the Navigation buttons on the left side one by one from the Top Side Downwards:
As You can see, there is Reseller Menu and Personal menu
Under Reseller Menu you can manage your reseller data, create and set your rates to destinations and your Tarrifs while under Personal menu you can see your own data and see how much rates you pay for us and your own personal calls made by you and not by users.
Tariffs
Now under Reseller Menu, Check out the first button called Tarrifs.
By clicking on this button you can start creating your own Tarrifs and Rates to destinations, and please note the following:
Extensions or devices cannot start calling, if you did not create Tarrifs.
Before creating any users, you must complete this step first, this step will take time and it is manual, but you only must do it one time only.
Now click on the Tarrifs:
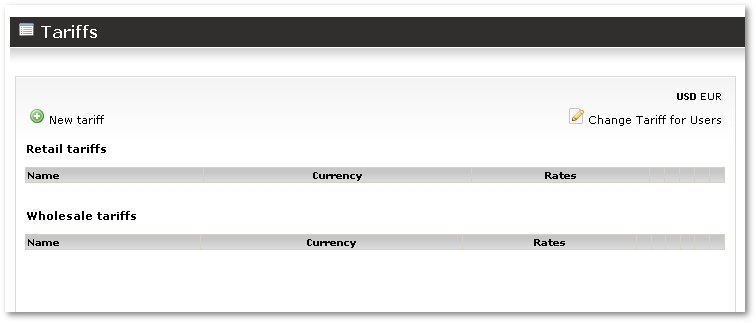
This is empty list of your Tariffs right now.
Click on ![]() New Tariff to create new Tariff:
New Tariff to create new Tariff:
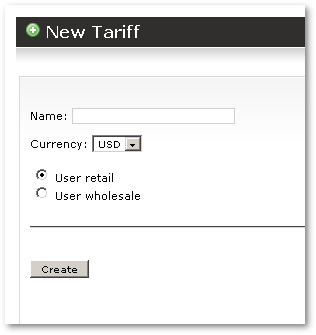
Enter any name, this is for you. And Purpose of Tariff chose "User Retail" for (demo purposes now) then click the Create button.
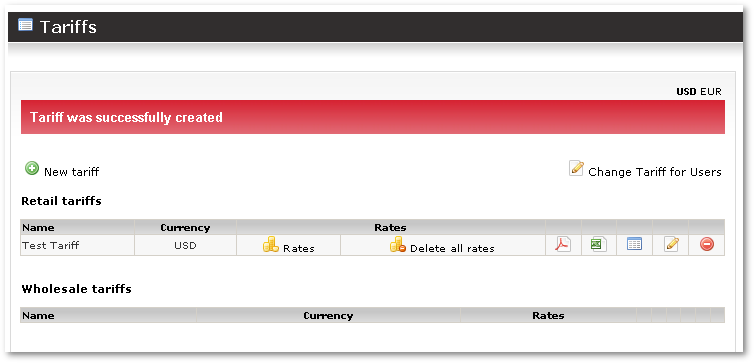
You will be directed to the page, which means your Tariff was created successfully:
Rates
Name of the Tariff we created for the demo purpose of User Retail is "Test Tariff"
The currency we chose for the tariff is USD.
Before someone can dial-out, rates to the destination any user will use must be filled first.
To do this, click on the ![]() Rates:
Rates:
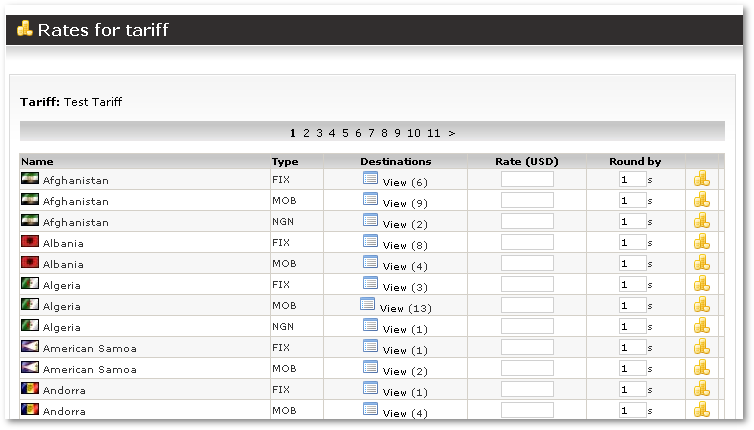
On this page you need to enter rates manually one by one. ( Retail Rates can be transformed from Wholesale Rates also).
Enter all the rates per minute you need to charge your customers for every destination.
Rounded by field, is in seconds, it usually is either, per one second, or per 60 seconds which will mean the call will be rounded per minute. So make sure you change it to rounded by 60.
And enter your rates per minute for every destination or only the destinations you want.
Then click on the Update button at the end of the page, and you will see your rates have been filled out and saved.
More info about Tariffs/Rates can be found here.
Prefixes are global in MOR. Resellers can use all prefixes which are in the system. Only admin can add new prefixes.
Users
Now you can start creating Users and Devices for them, and those Devices can start calling if they have enough balance in their account.
Now go to the Reseller Menu again to your left and this time click on Users to create a new User:

Press on ![]() Add new to add new User:
Add new to add new User:
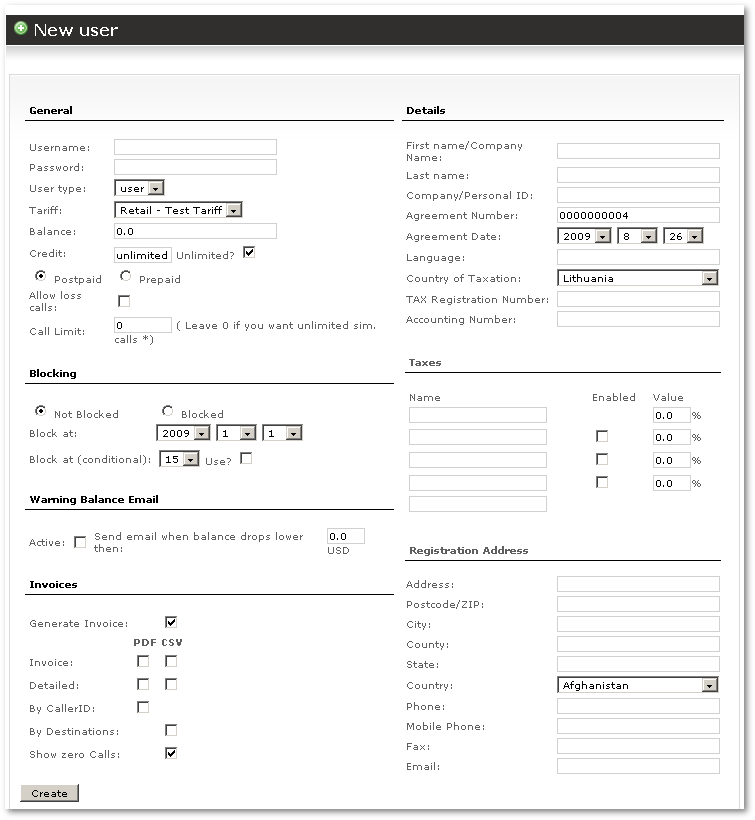
Now you need to start filling out this data for the user you created:
- Username/Password - For user to login to this interface to checkout his balance, rates and later he will be able to pay affiliates automatically using Paypal inside this panel.
- Tariff - from this drop down menu, you select which tariff to apply for this user since you can create unlimited tariff plans.
- Balance - enter initial balance (WITHOUT TAXES) for user here
- Credit - if user is prepaid - leave it untouched
- Prepaid - Make sure you check the user to PREPAID user and NOT postpaid if you do not trust user
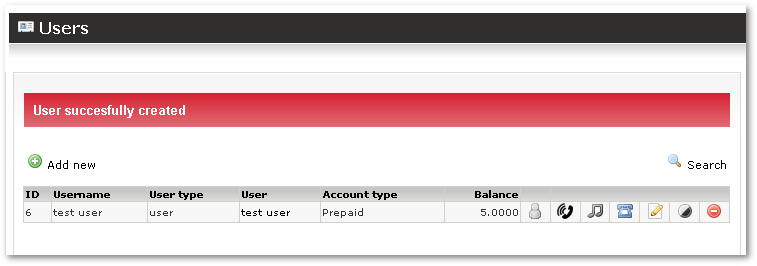
After you fill in all the fields properly, click on Create button to create your first user:
Devices
Now this user cannot start calling unless you create a device or extension for him.
To do that you must click on the ![]() icon:
icon:

This page lists all devices or extensions for this user, while each user can have unlimited devices, only you can add for them devices and not the users themselves, now as you can see this user still has no devices created.
To create the first device for this user click on ![]() Add new device:
Add new device:
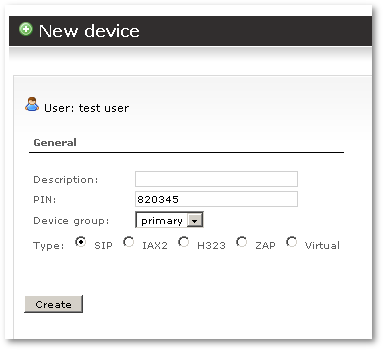
- Description field you can type anything you want.
- Device group, you cannot edit it, so leave it as primary group.
- Type - if you do not know which type to chose, then leave it as SIP, because most of the devices used today is using SIP protocol and SIP technology
Once you have filled in the description (Which you can also leave empty if you wish), click on the Create button:
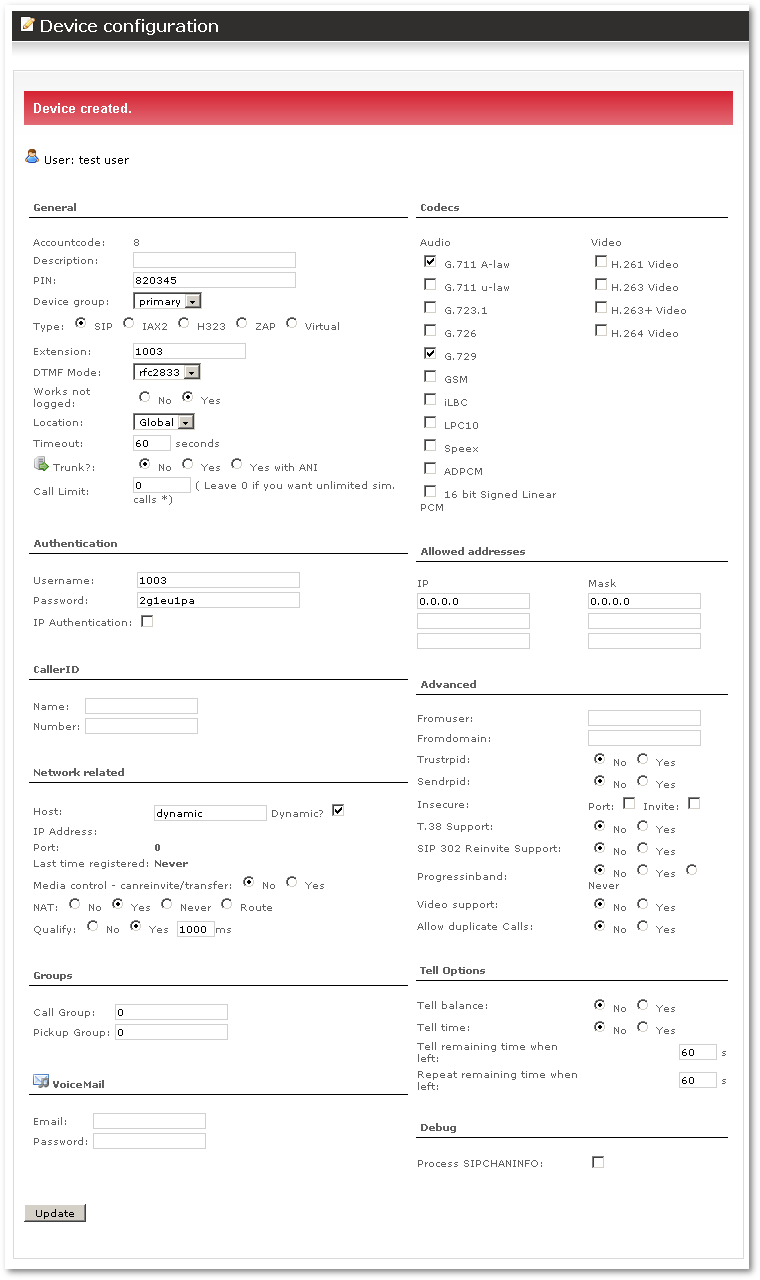
Please do not edit any settings in this page, it is better if you do not know what you are doing, that you leave this page like this, like the default settings, and hit the update button below.
In this page you can see the device or extension number that users need to put in X-lite (or other softphone or real phone) to dial out, for this device for example
- Device number/extension is 1004
- Password is 2g1eu1pa
If you put this info on your X-lite and our SERVER_IP_ADDRESS you will be able to start making calls from this X-Lite until this User has balance in his account.
Now you can email this user his info and how to use the system, you need to only email him:
- His username
- His Password
- Login to GUI URL http://<SERVER_IP>/billing
- Device username
- Device password
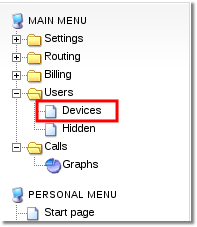
Devices overview
This option for resellers is available starting from MOR 10
About
This functionality lists all devices that belongs to reseller's users

Calls
If you want to check calls made by your users go to RESELLER MENU - Calls:
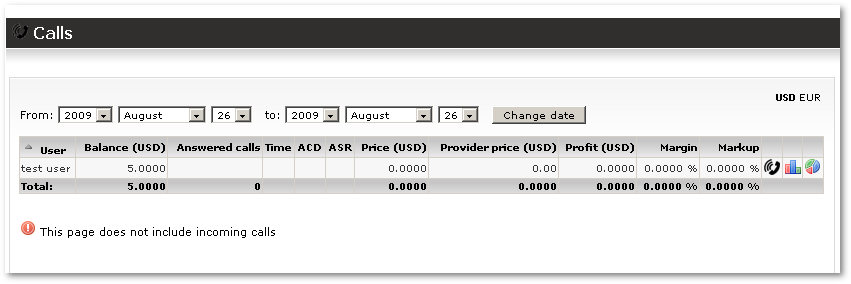
Here you can press on ![]() icon near each user to check their calls.
icon near each user to check their calls.
Personal Details
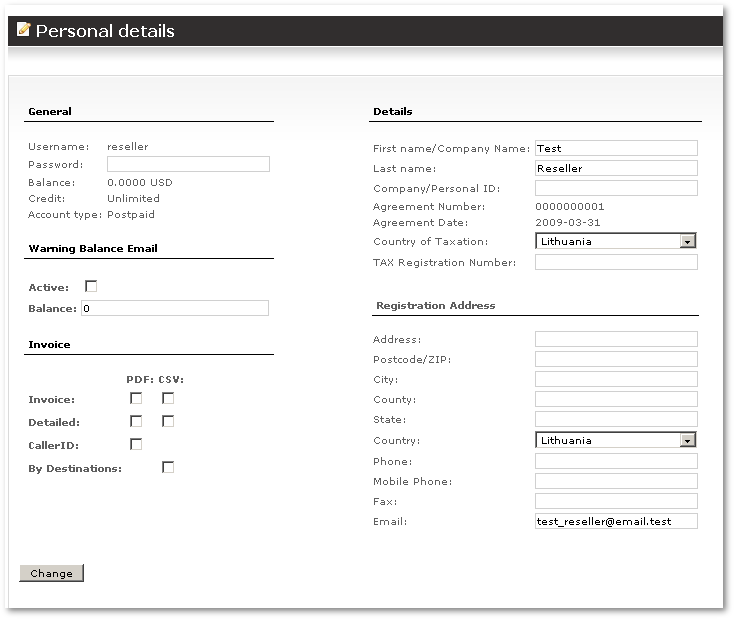
You can change your personal details in PERSONAL MENU - Details:
Personal Rates
PERSONAL MENU - Details - Rates lists rates as given to you by us, this is the rates WE CHARGE YOU per minute, So this can be your guide when you are creating your own rates for your users, you can open both windows at the same time and make reference before you add your rates.
Reseller Managers
More information can be found here.
See also
- User agreement during registration
- Custom login page LOGO
- Call Shop - Resellers can use Call Shop if this Addon is available in the system
This manual is based on: Manual for Reseller Addon made by TuT Telecom.

