Difference between revisions of "Ouroboros payment gateway"
From Kolmisoft Wiki
Jump to navigationJump to search
| Line 24: | Line 24: | ||
<br><br> | <br><br> | ||
=Usage= | =Usage= | ||
Log in as User and, if Ouroboros is enabled, in front page you will see Ouroboros logo: | |||
<br><br> | <br><br> | ||
[[Image:ouroboros_payment.png]] | [[Image:ouroboros_payment.png]] | ||
<br><br> | |||
click on it to make a payment. In first step you can choose Payment amount: | |||
<br><br> | |||
[[Image:ouroboros_payment2.png]] | |||
<br><br> | |||
Second step is for Payment confirmation: | |||
<br><br> | |||
[[Image:ouroboros_payment3.png]] | |||
<br><br> | <br><br> | ||
=See also= | =See also= | ||
* [[Payment Gateway Addon]] | * [[Payment Gateway Addon]] | ||
Revision as of 14:39, 14 June 2013
Descritpion
http://ouroboros.hr/index.php?home_en
Configuration
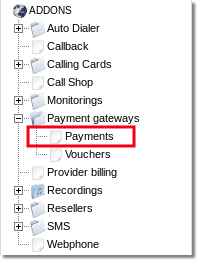
Go to ADDONS -> Payment gateways -> Payments:
Here you can see configuration settings of Ouroboros Payment Gateway
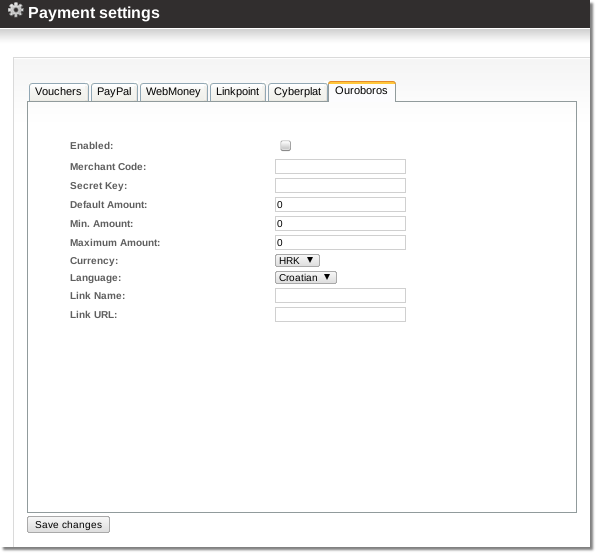
- Enabled – yes or no.
- Merchant Code – a merchant code
- Secret Key – a secret code.
- Default amount – amount to show for customer when he tries to enter payment. User can change this amount.
- Minimal amount – the minimum amount a user can send you.
- Currency – select a currency which matches your account's supported currency. If they do not match, you will get errors.
- Language – in which language Ouroboros should display the web page.
- Link Name - describe the name of the link that will be displayed next to the Ouroboros icon on the main page.
- Link URL - enter the URL of the link that will be displayed next to the Ouroboros icon in the main page.
Usage
Log in as User and, if Ouroboros is enabled, in front page you will see Ouroboros logo:
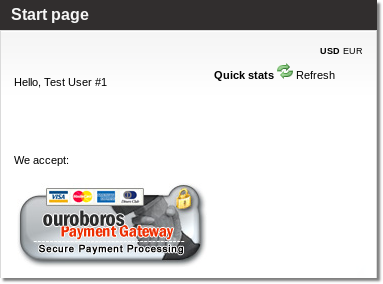
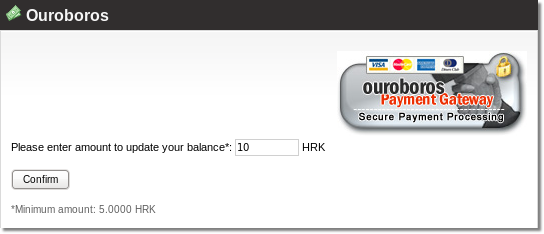
click on it to make a payment. In first step you can choose Payment amount:
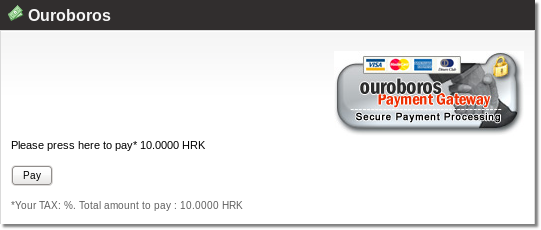
Second step is for Payment confirmation:
