Difference between revisions of "Didx.net"
m |
|||
| Line 64: | Line 64: | ||
<br><br> | <br><br> | ||
[[File:Call_flow_forward_edit.png]] | [[File:Call_flow_forward_edit.png]] | ||
<br><br> | |||
13. Now go back to DIDs list: '''SETTINGS - Billing -> DIDs''' | |||
<br><br> | |||
[[File:Did_path.png]] | |||
<br><br> | |||
14. Edit the DID you created: | |||
<br><br> | |||
[[File:Didx_edit_did.png]] | |||
<br><br> | |||
15. Select a user you want to reserve a DID for: | |||
<br><br> | |||
[[File:Didx_edit_did_reserve_for_user.png]] | |||
<br><br> | |||
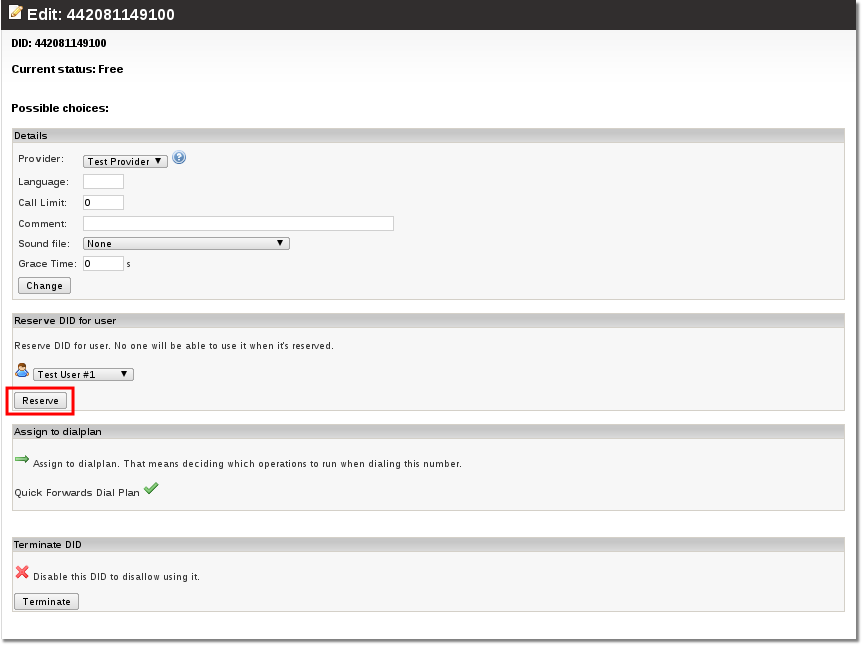
16. Reserve the DID for a user - press the marked button: | |||
<br><br> | |||
[[File:Didx_edit_did_reserve_for_user_commit.png]] | |||
<br><br> | |||
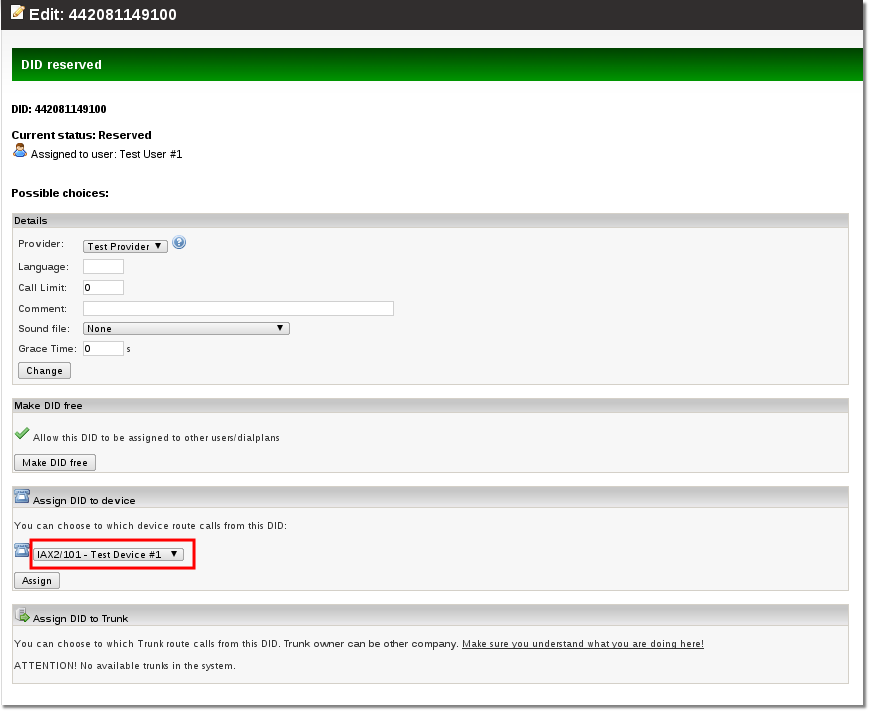
17. Now you have to select the device you configured earlier with callflow, in this case it will be SIP/1001: | |||
<br><br> | |||
[[File:Didx_edit_did_select_device.png]] | |||
<br><br> | |||
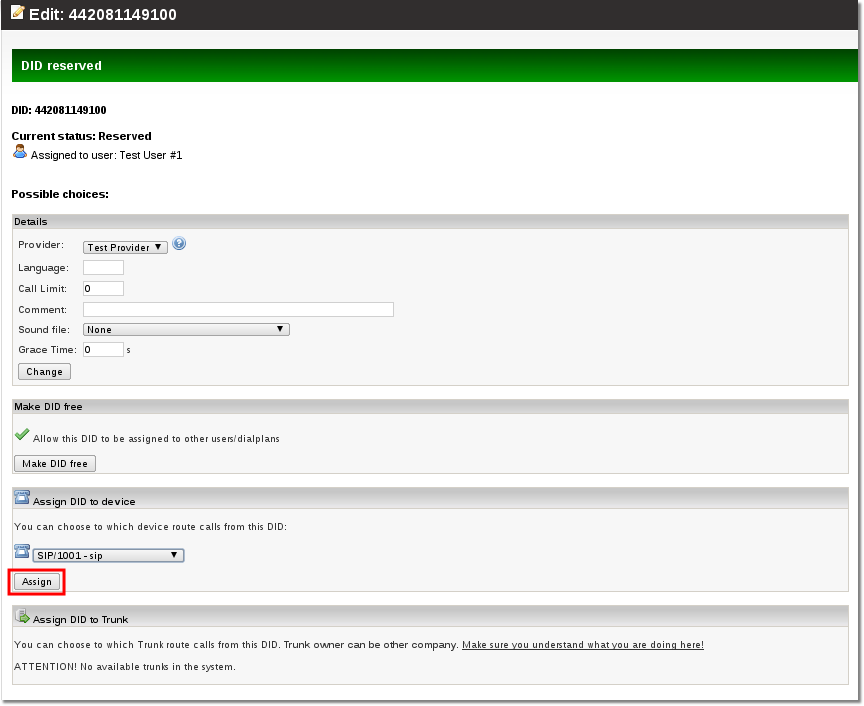
18. Save the changes by pressing the marked button: | |||
<br><br> | |||
[[File:Didx edit did select device commit.png]] | |||
<br><br> | <br><br> | ||
'''That's all''' | |||
Revision as of 11:16, 10 September 2010
What is didx.net
DIDX (DIDXchange) is where Internet protocol communications companies buy and sell DID (Direct Inward Dialing) phone numbers.
How to configure a DID purchased from didx.net to work with MOR?
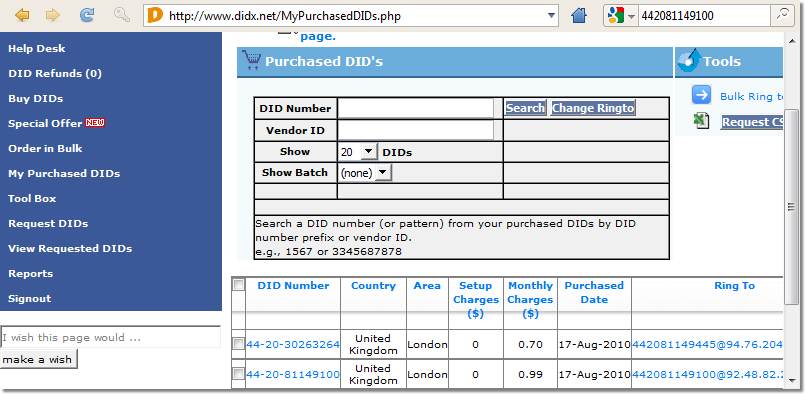
1. Go to purchased DIDs:
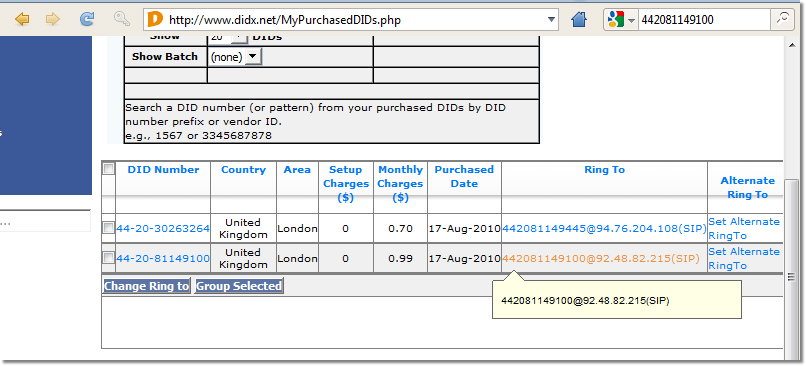
2. Then select a DID for edit:
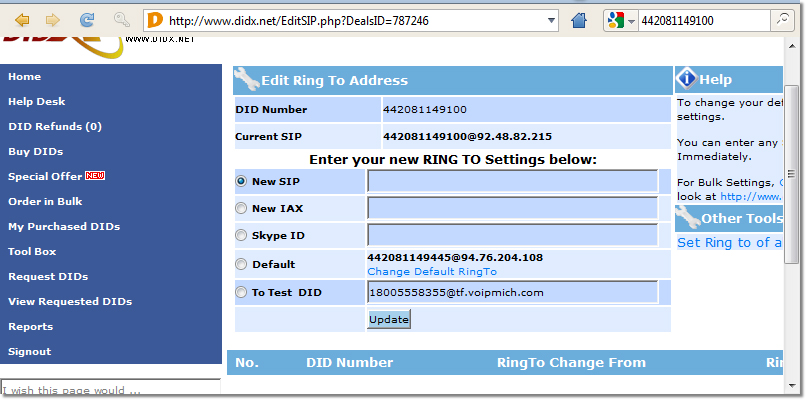
3. Select "New SIP"
In this field you have to enter your DID and server address with the following syntax: DID@example.com
For example:
You have purchased a DID: 37068111888 Your MOR server address is: 127.0.0.1
Then you have to put in this field:
37068111888@127.0.0.1
Don't forget to press the update button!
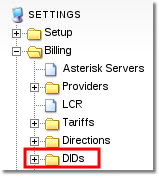
4. Now login to MOR GUI and go to SETTINGS - Billing -> DIDs
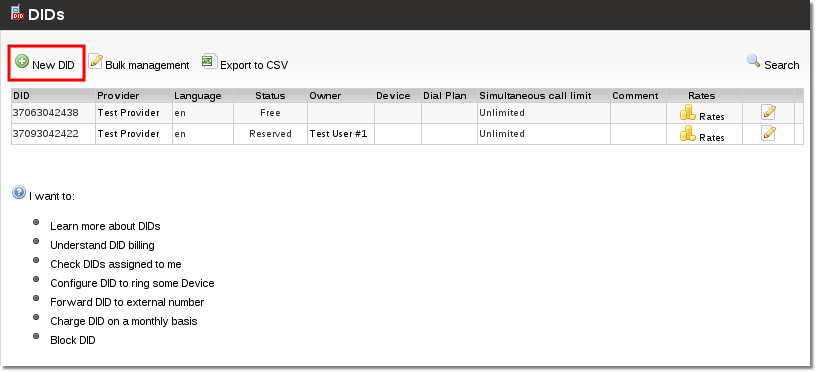
5. Now create a new DID and leave it free at the moment. To create a DID press the marked icon:
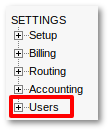
6. Now go to SETTINGS - Users:
7. Select the marked icon (you must select the correct icon from the column which represents the user you want to assign DID to):

8. Select the marked icon for an appropriate device:

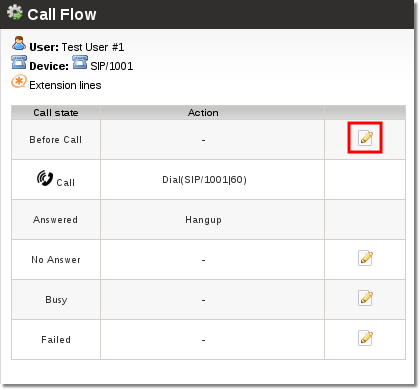
9. Select the marked icon:
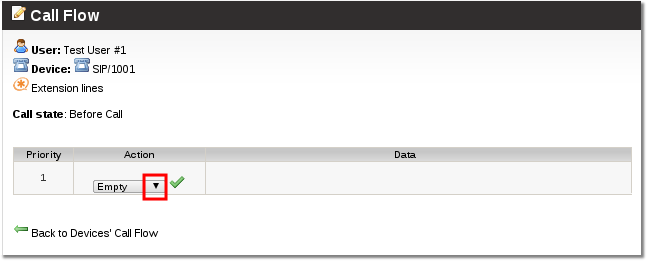
10. Click the marked triangle and select the option "Forward":
11. Click the marked icon:
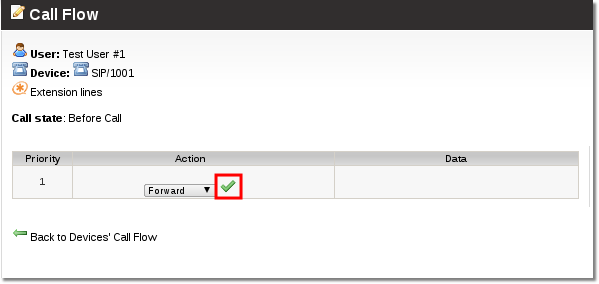
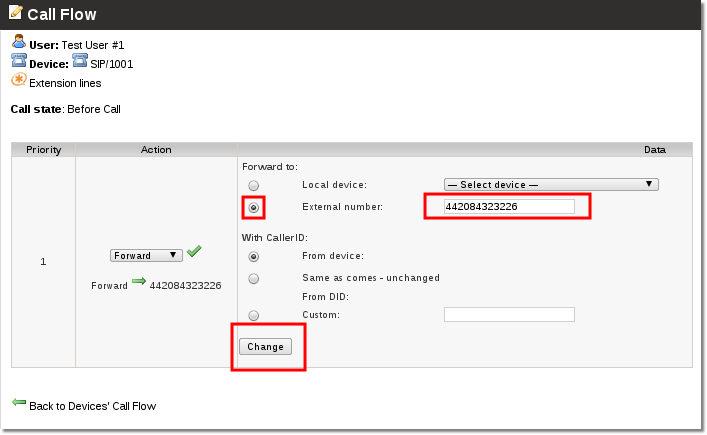
12. Click the marked radio button on the left and enter destination number where the call will be sent when it comes to this device.
13. Now go back to DIDs list: SETTINGS - Billing -> DIDs

14. Edit the DID you created:
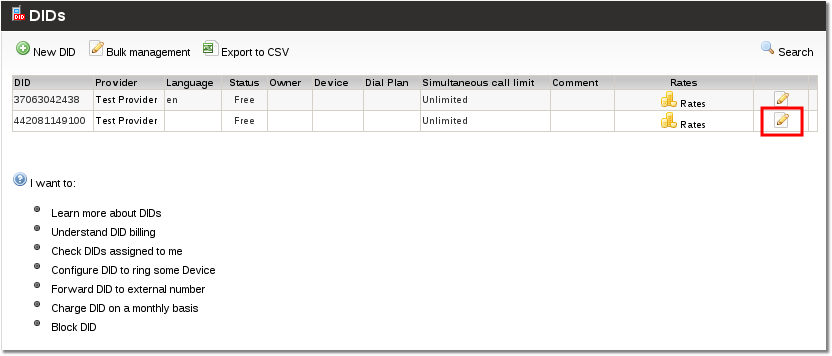
15. Select a user you want to reserve a DID for:
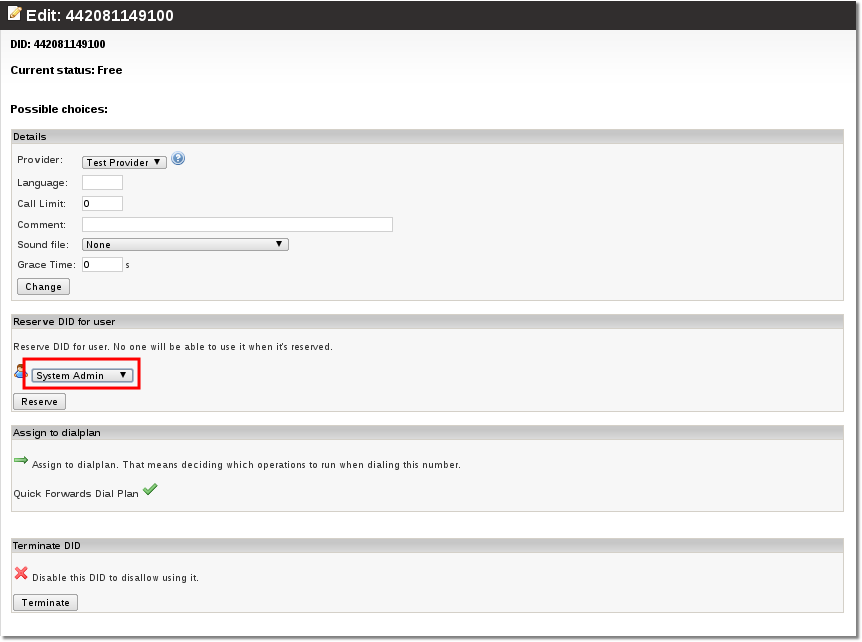
16. Reserve the DID for a user - press the marked button:
17. Now you have to select the device you configured earlier with callflow, in this case it will be SIP/1001:
18. Save the changes by pressing the marked button:
That's all
