DID Import from CSV
Description
DID Import from CSV functionality allows creating DIDs and DID Rates by uploading a valid CSV file with necessary information.
The procedure is completed within the six following steps:
- File upload;
- Separator selection (is skipped when separators determined automatically match the system configuration);
- Column assignment;
- Column confirmation;
- Analysis;
- Import.
Note: each step is covered in more detail bellow.
File upload (Step 0)
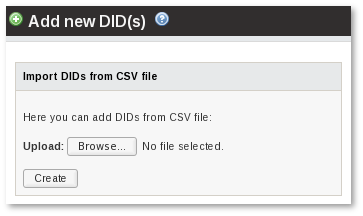
DID Import from CSV procedure starts in the DIDs list by clicking on the Add new DID(s) link. At the bottom of the DID creation form lies a CSV upload form. Here by selecting a valid CSV file and pressing the Create button the import opreation is initialized.

File format
A valid file used in a DID import must have a CSV format (Comma Separated Values). A CSV column separator and a decimal separator must be set correctly in SETTINGS > Setup > Settings > Functionality:
- CSV Column Separator;
- CSV Decimal Separator.
CSV Columns could and sometimes should be enclosed in quotation marks ("). Possible closure cases:
- CSV column values include a CSV column separator.
Note: quotation marks within colusres must be escpaed correctly in order for columns to be read as expected (eg. "test value\"escaped\"").
Required columns in a CSV file:
- DID (DID number);
- Provider ID (is not required when importing as a Simple Reseller).
Note: first line can be a header (might be useful when assigning columns).
