Payments configuration
From Kolmisoft Wiki
Jump to navigationJump to search
The printable version is no longer supported and may have rendering errors. Please update your browser bookmarks and please use the default browser print function instead.
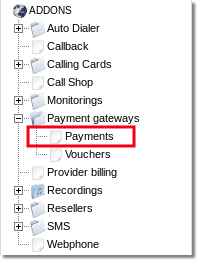
You can find Payments configuration menu by navigating to ADDONS -> Payment gateways -> Payments:
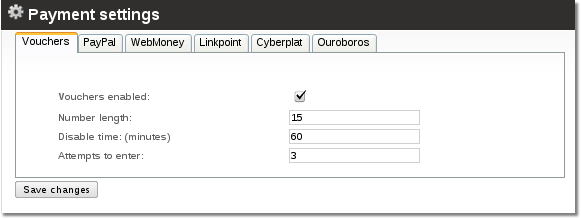
Vouchers
- Vouchers enabled – yes or no.
- Number length – how long a voucher's number should be; make it at least 10 digits long.
- Disable time (minutes) – if a user fails several times to enter the correct voucher number, the period for which he should be prevented from trying again.
- Attempts to enter – how many times a user can try to enter the voucher number.
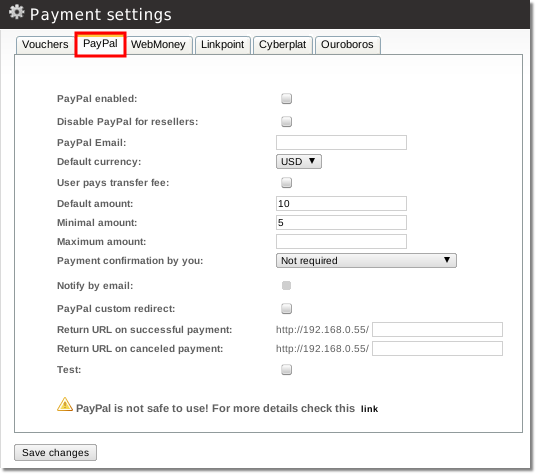
PayPal
- PayPal Enabled – yes or no.
- PayPal Email – account in PayPal where you want to get payments.
- Default currency – select a currency which matches your account's supported currency. If they do not match, you will get errors.
- User pays transfer fee – check whether the user should pay a transfer fee; otherwise you as the system owner will pay it (default).
- Default amount – amount to show for customer when he tries to enter payment. User can change this amount.
- Minimal amount – the minimum amount a user can send you.
- Test – if this is checked, all amounts will be equal to 0.01. Good for testing with a real account.
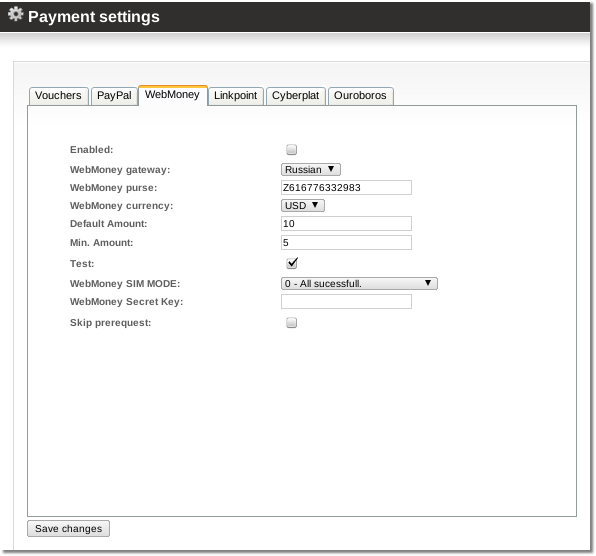
Webmoney
- WebMoney Enabled – yes or no.
- Default currency – select a currency which matches your account's supported currency. If they do not match, you will get errors.
- User pays transfer fee – check whether the user should pay a transfer fee; otherwise you as the system owner will pay it (default).
- Default amount – amount to show for customer when he tries to enter payment. User can change this amount.
- Minimal amount – the minimum amount a user can send you.
- Test – testing mode.
- WebMoney SIM MODE - testing mode in WebMoney system. Connects to the test server instead of a real one.
LinkPoint
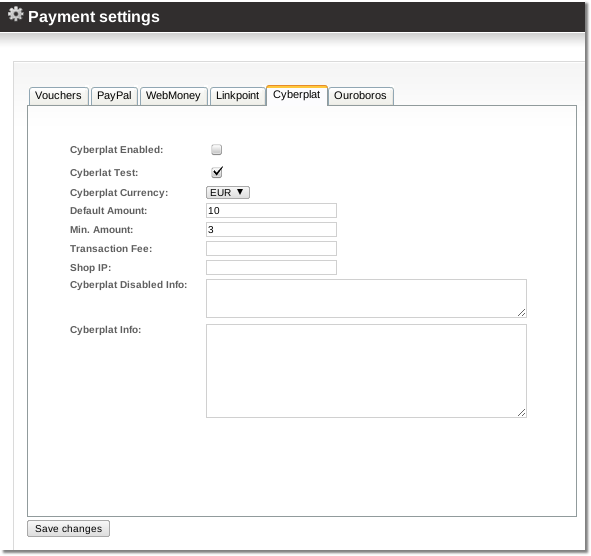
CyberPlat
- Cyberplat Enabled – yes or no.
- Cyberplat Test – testing mode.
- Cyberplat Currency – select a currency which matches your account's supported currency. If they do not match, you will get errors.
- Default amount – amount to show for customer when he tries to enter payment. User can change this amount.
- Minimal amount – the minimum amount a user can send you.
- Transaction Fee - a transaction fee that user pays for a transaction
- Shop IP - a shop IP
- Cyberplat Disabled Info - Text view for user when Cyberplat is off global or in user settings (/users/edit/).
- Cyberplat Info - Text view in Cyberplat payment form end.
Ouroboros
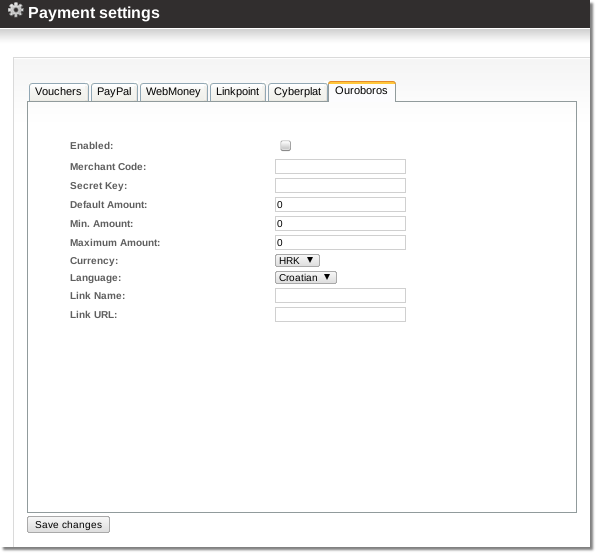
- Enabled – yes or no.
- Merchant Code – a merchant code
- Secret Key – a secret code.
- Default amount – amount to show for customer when he tries to enter payment. User can change this amount.
- Minimal amount – the minimum amount a user can send you.
- Currency – select a currency which matches your account's supported currency. If they do not match, you will get errors.
- Language – in which language Ouroboros should display the web page.
- Link Name - describe the name of the link that will be displayed next to the Ouroboros icon on the main page.
- Link URL - enter the URL of the link that will be displayed next to the Ouroboros icon in the main page.
See also
